真天然抹茶戚风蛋糕的做法

 1
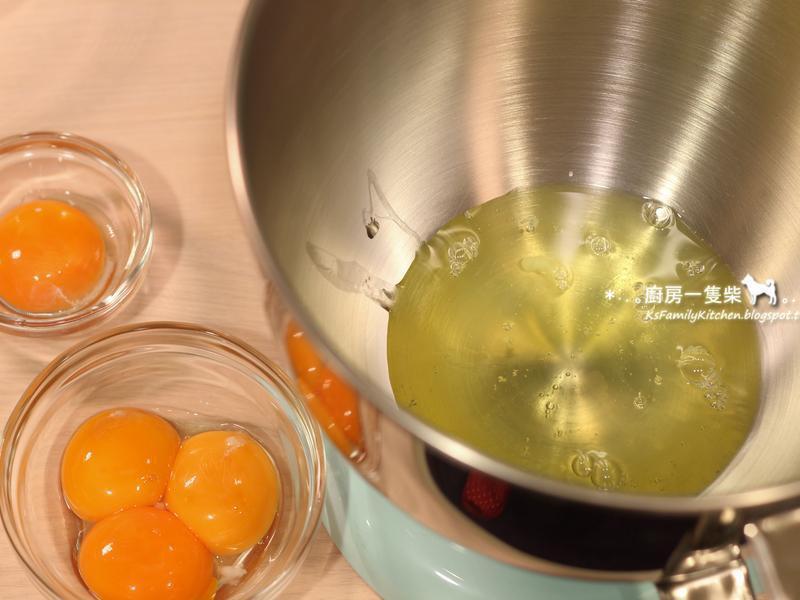
1抹茶戚风鸡蛋4颗,蛋白与蛋黄分开,3颗蛋黄用小碗装起,4颗蛋白放入搅拌盆,冷藏备用(剩下1颗蛋黄也放入冰箱冷藏,留着做卡士达酱用)。
 2
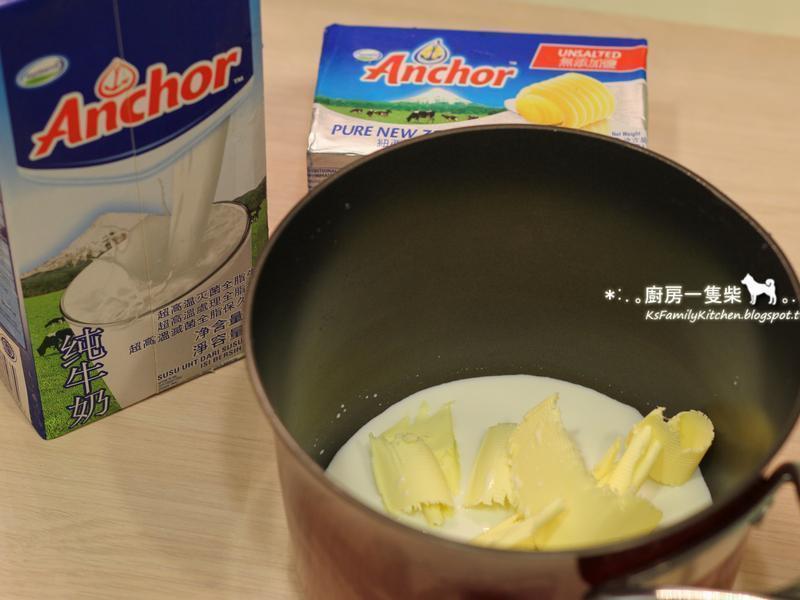
2其他材料秤好,牛奶 无盐奶油放入小汤锅中。烤箱预热至160度C(约320度F)。
 3
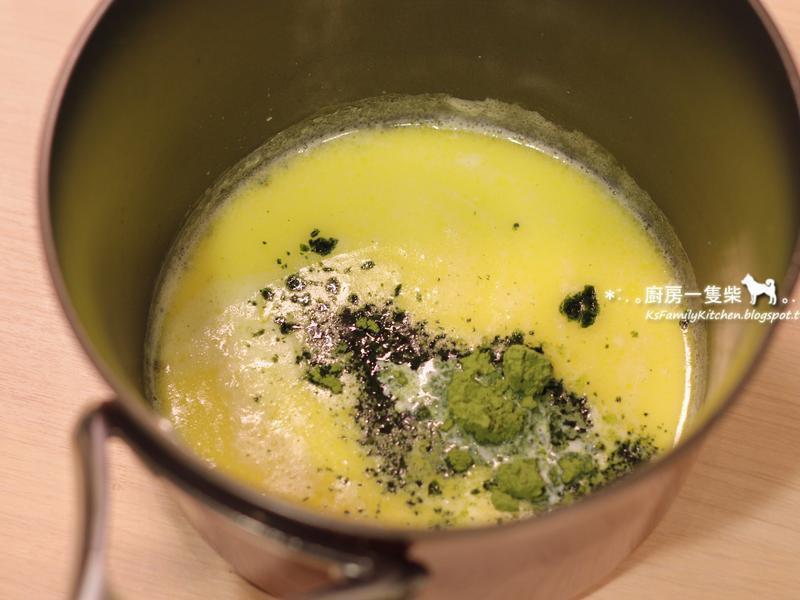
3牛奶 无盐奶油先以小火加热至65度C,离火,倒入抹茶粉1小匙,溶解拌匀。
 4
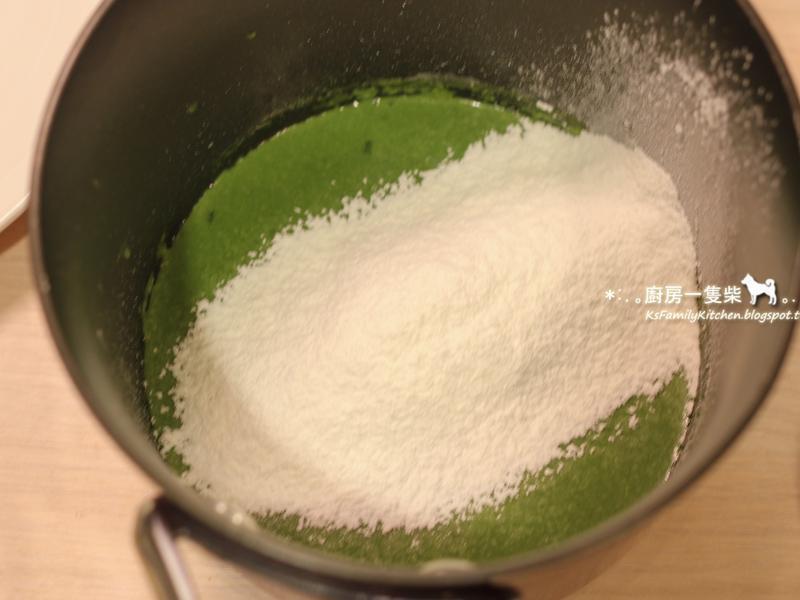
4加入过筛的低筋面粉拌匀。
 5
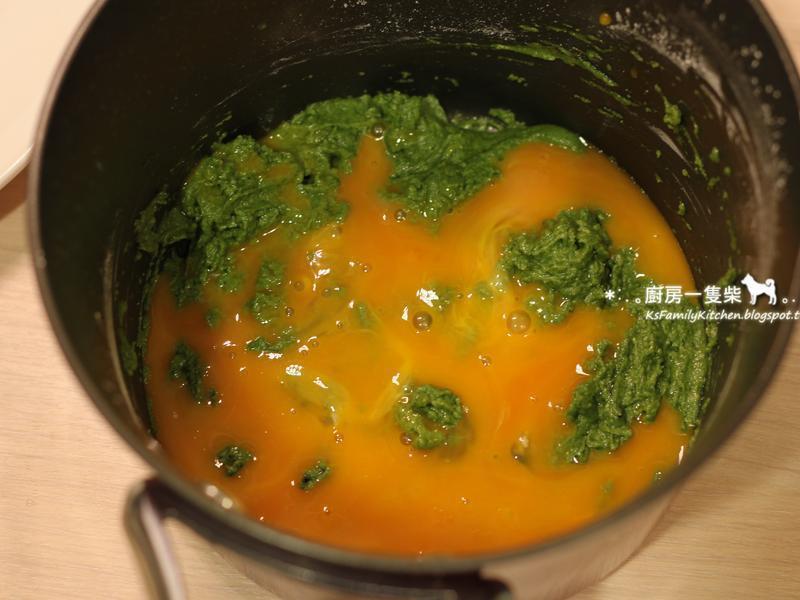
5再加入打散的蛋黄拌匀。
 6
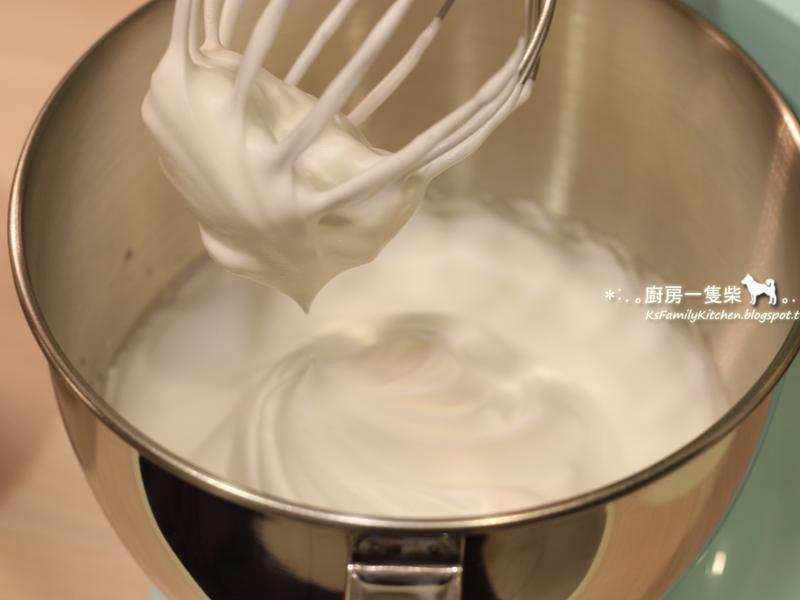
6蛋白先用搅拌器打出小泡泡,再分两次加入细砂糖,打至硬性发泡。
 7
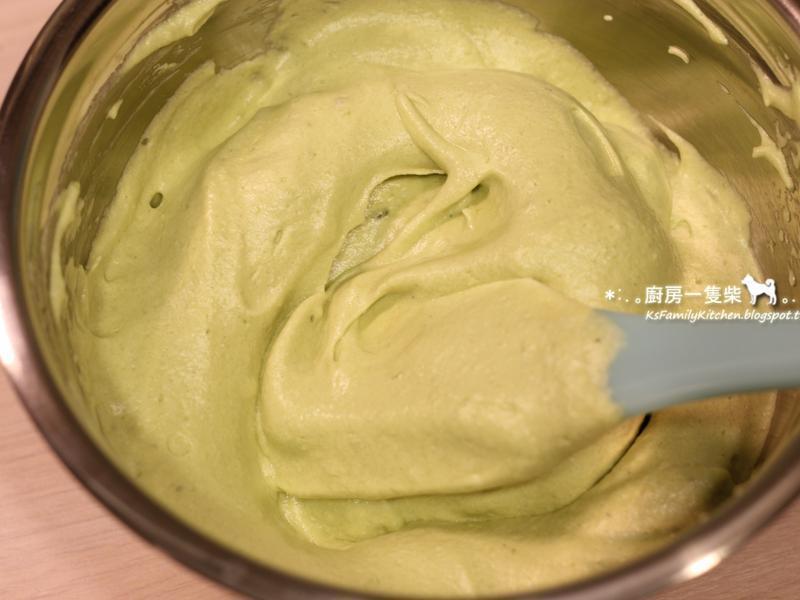
7先将1/3的蛋白霜加入步骤(5)完成的蛋黄面糊拌匀,再将剩下的蛋白霜分2次加入,轻轻混合拌匀。
 8
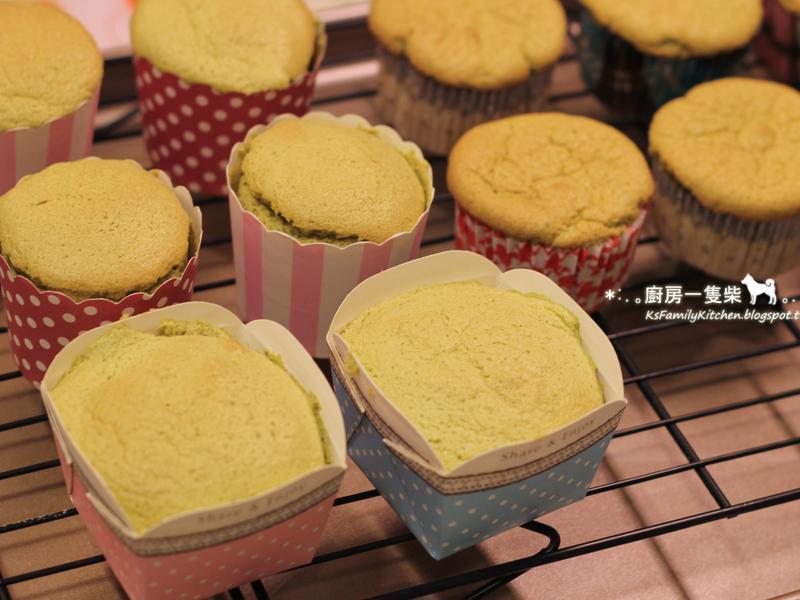
8混合好的面糊倒入杯子纸模中,约九分满。
 9
9送入烤箱烘烤约18~20分钟,以竹签插入蛋糕中心,抽出不沾黏即可,于铁架上放凉。
 10
10牛奶卡士达低筋面粉 玉米粉 细砂糖混匀。
 11
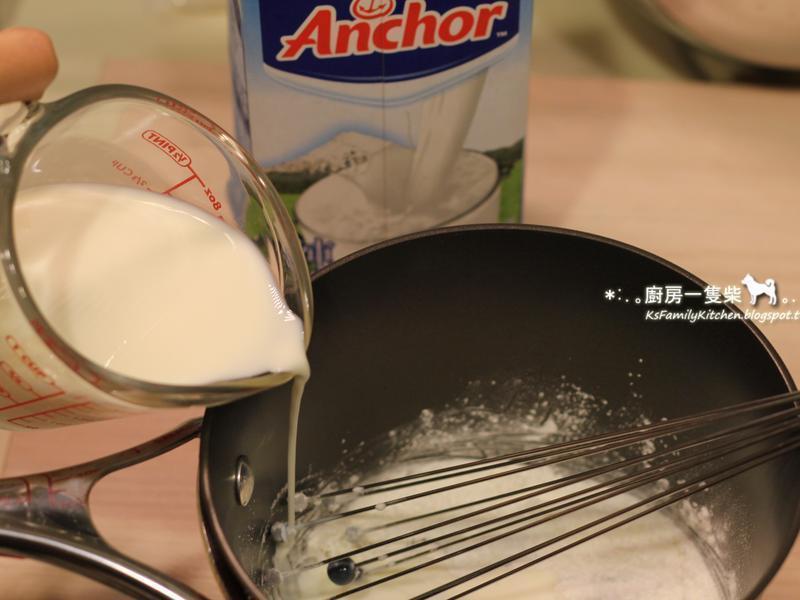
11先倒入约50ml的牛奶混合至所有粉类溶解,再倒入剩下的牛奶搅拌。
 12
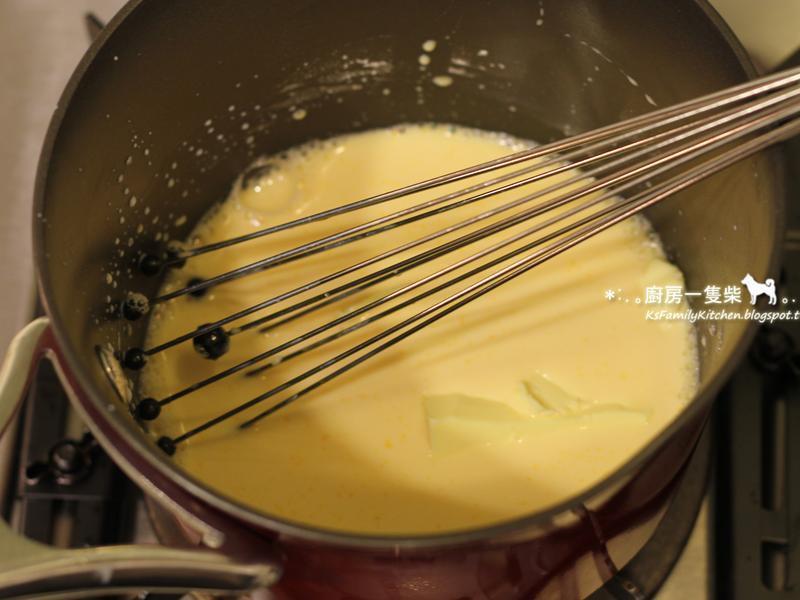
12加入蛋黄拌匀后,利用滤网过筛至小锅中,加入无盐奶油,以小火一边加热一边用搅拌。
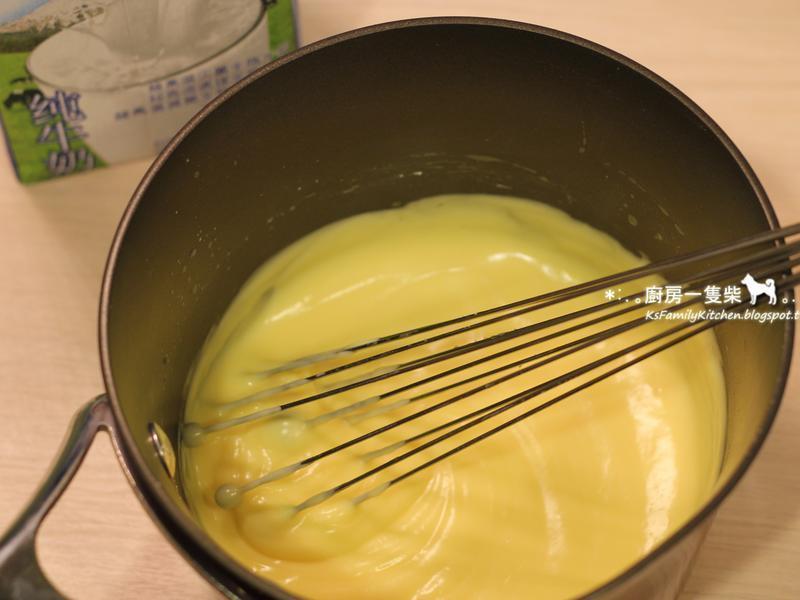 13
13搅拌至呈现浓稠状就关火,利用锅中余温继续搅拌约1分钟,加入香草精拌匀,置于一旁待凉。
 14
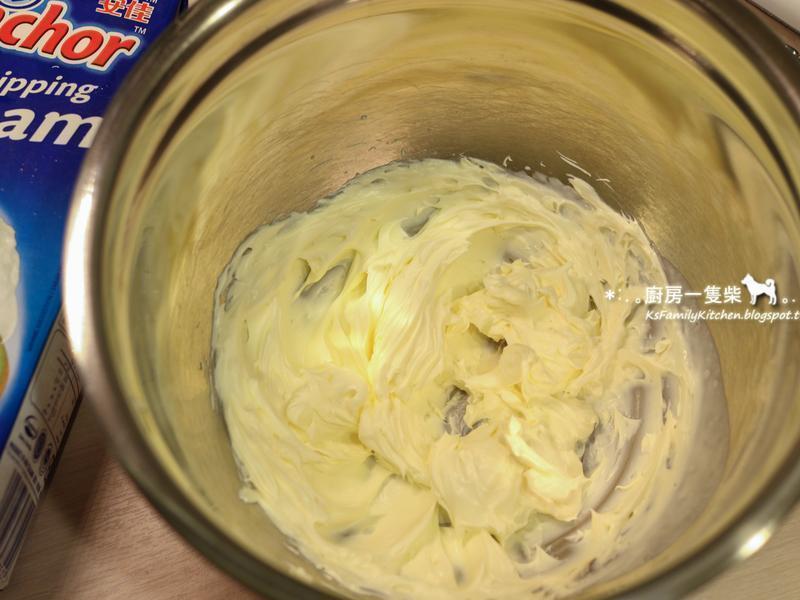
14红豆鲜奶油搅拌盆中倒入100ml安佳鲜乳脂 1小匙细砂糖,盆子底部垫冰块,低速打发(鲜奶油表面出现明显纹路即可)。
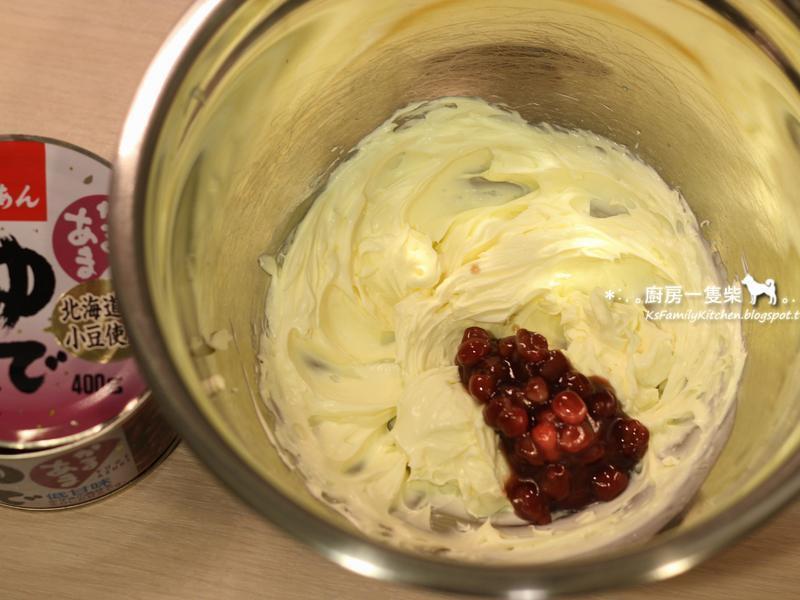 15
15将蜜红豆倒入打发的鲜奶油中轻轻拌合。
 16
16分3次将红豆鲜奶油加入放凉的牛奶卡士达酱中混匀,即完成「红豆牛奶卡士达酱」。
 17
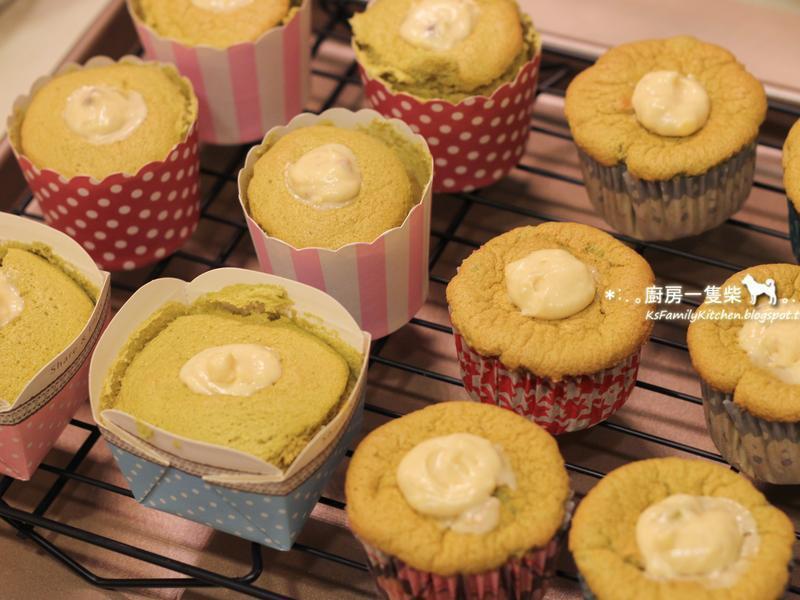
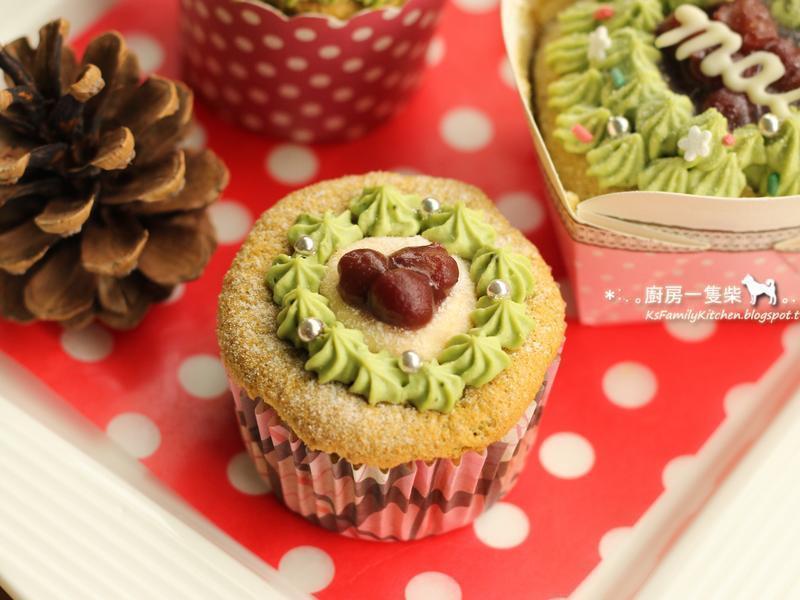
17【组合】以细长的圆型挤花嘴 挤花袋,将红豆牛奶卡士达挤入放凉的抹茶戚风杯子蛋糕中,洒上细糖粉、放些蜜红豆装饰即可。
 18
18也可打发些抹茶鲜奶油,绕着杯子蛋糕挤出一个小花圈,妆点些彩色糖果,就更有耶诞气息!安佳鲜乳脂不含人工反式脂肪,打发速度快,还能维持漂亮的挤花形状,以后又多一个烘焙材料的好选择囉!