亲子厨房-芋头戚风蛋糕的做法
发布时间:2019-03-10 17:40:57

 1
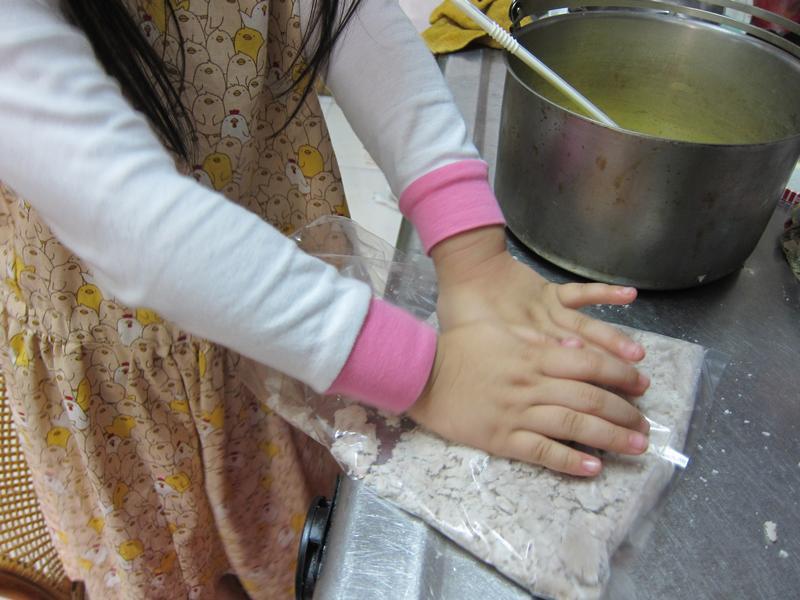
1芋头蒸熟压成泥状,取出80-100克备用。
 2
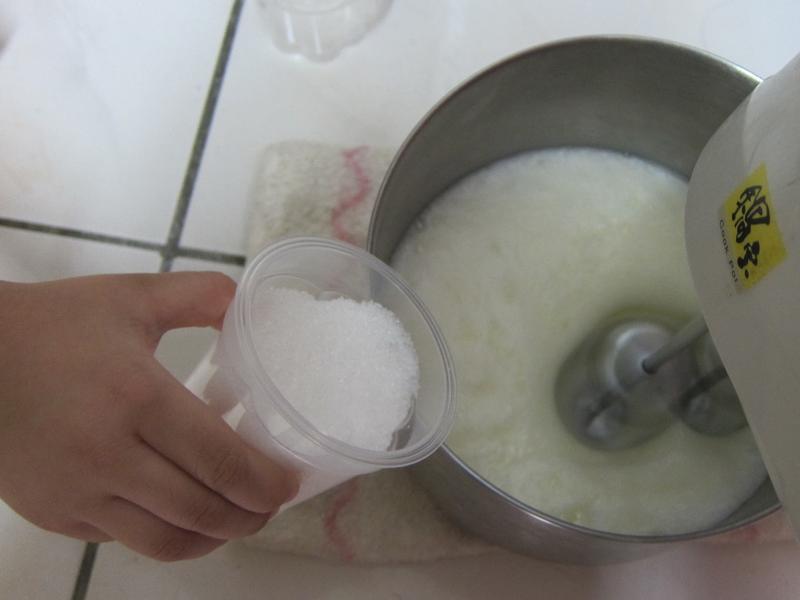
2蛋黄糊的制作:蛋黄加水、加油 盐轻拌至糖溶,
 3
3加过筛低筋面粉,轻拌匀。
 4
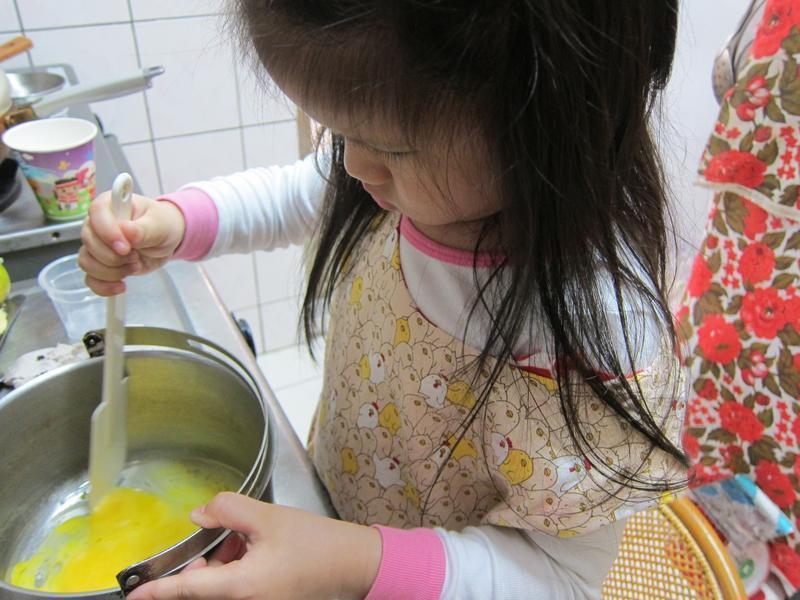
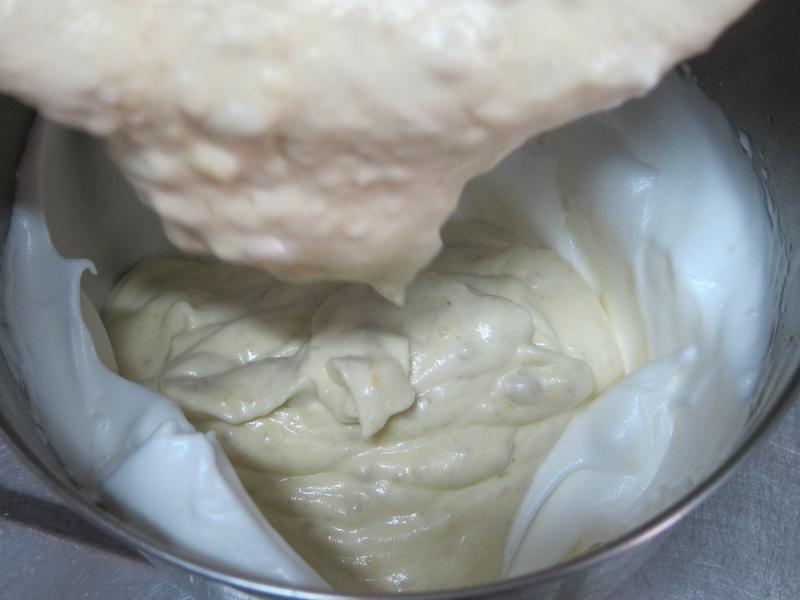
4加芋头泥轻拌匀,即成蛋黄糊。
 5
5蛋白双的制作:蛋白 柠檬汁打至轻微起泡。分2-3次糖加入打至蛋白湿性发泡蛋白霜。
 6
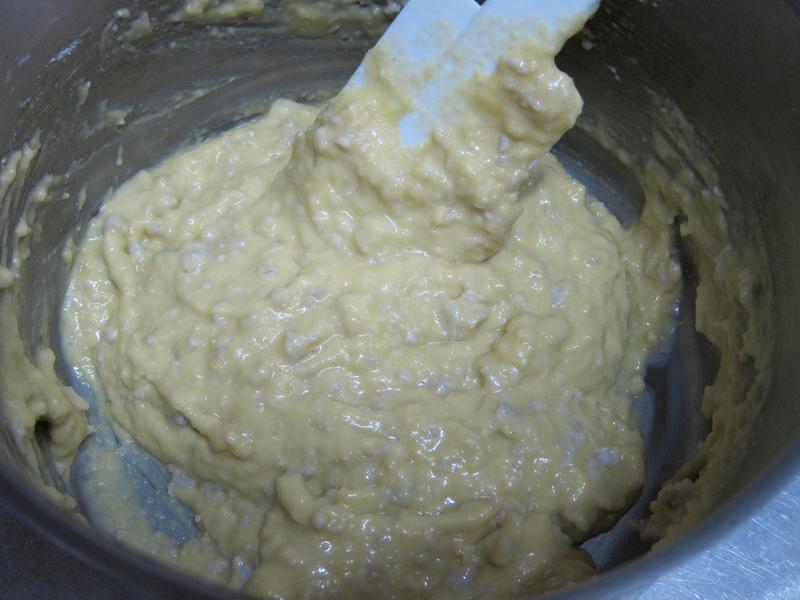
6取湿性发泡蛋白霜1/3的量与作法4的蛋黄糊,轻且快的用翻拌的方式拌匀。再整个倒入剩下的2/3湿性蛋白霜里,一样轻且快的用翻拌的方式拌匀。成蛋糕糊。
 7
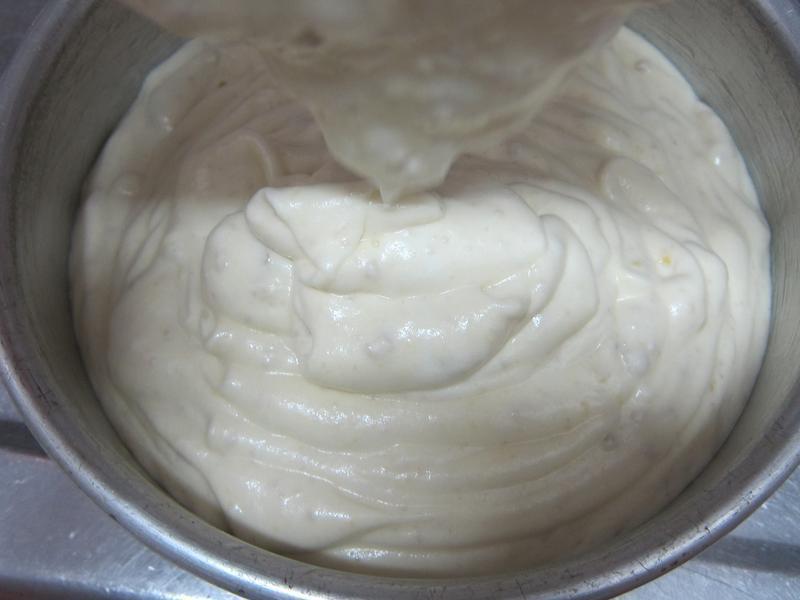
7蛋糕糊倒入事先抹薄油的烤器里(8寸分离式烤模)。用力拍2下打出气泡。
 8
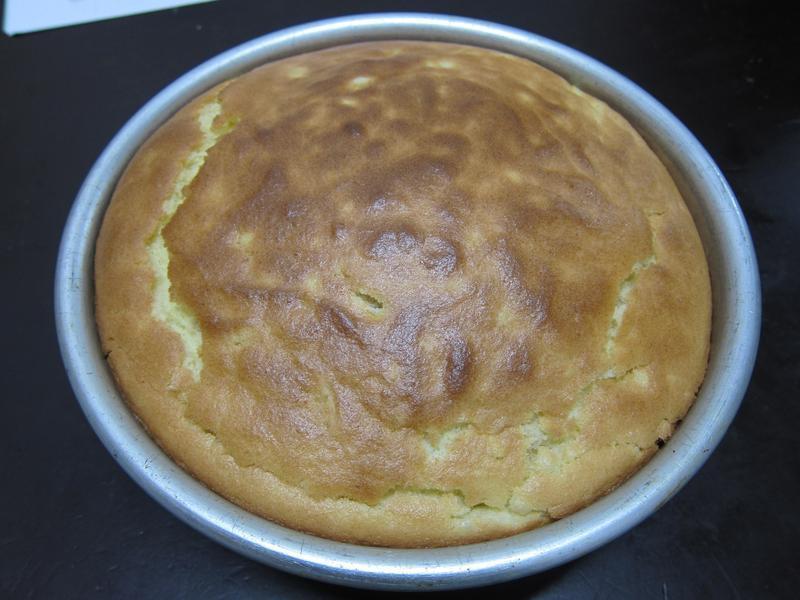
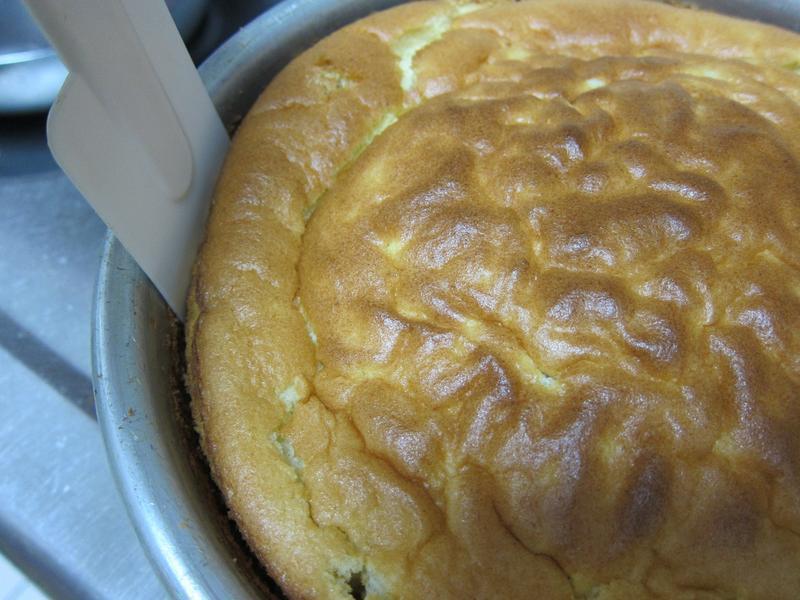
8放入事先预热的烤箱温度150度,约烤45-50分钟。
 9
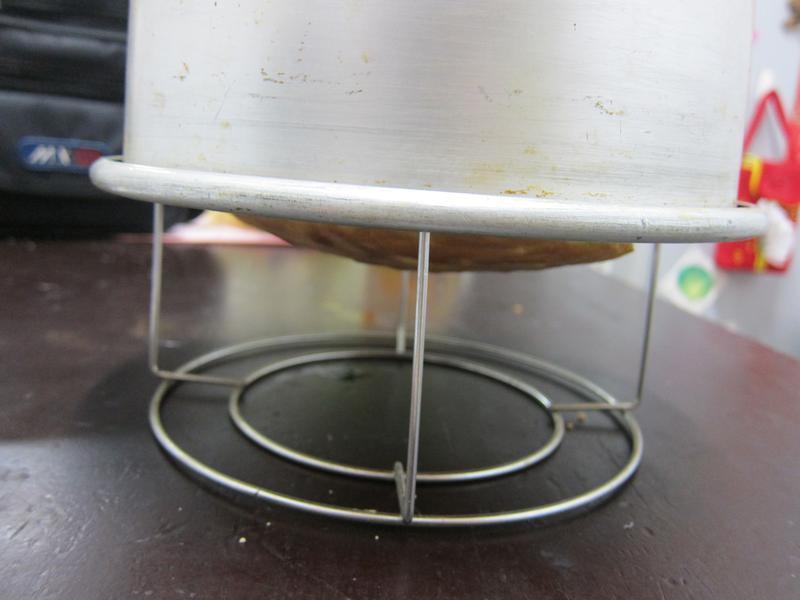
9烤好倒扣,
 10
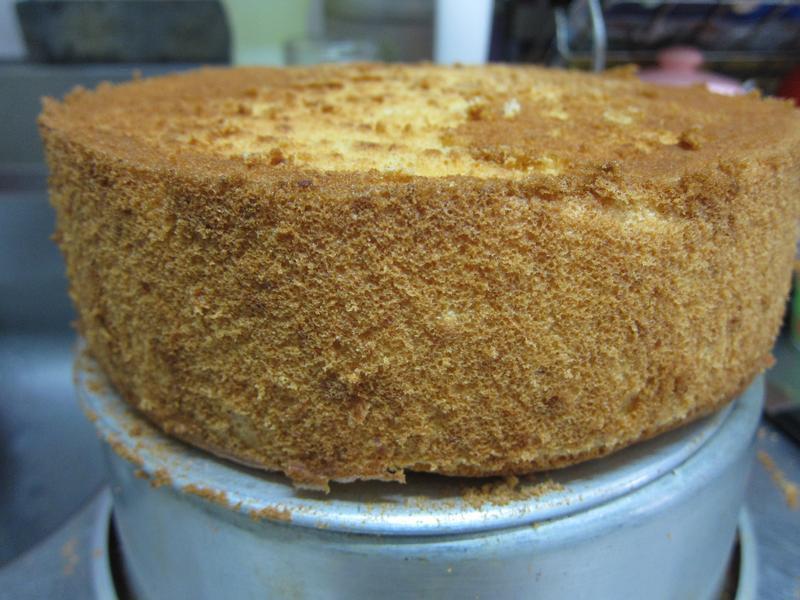
10等凉了用刮刀脱模。
 11
11脱模样。
 12
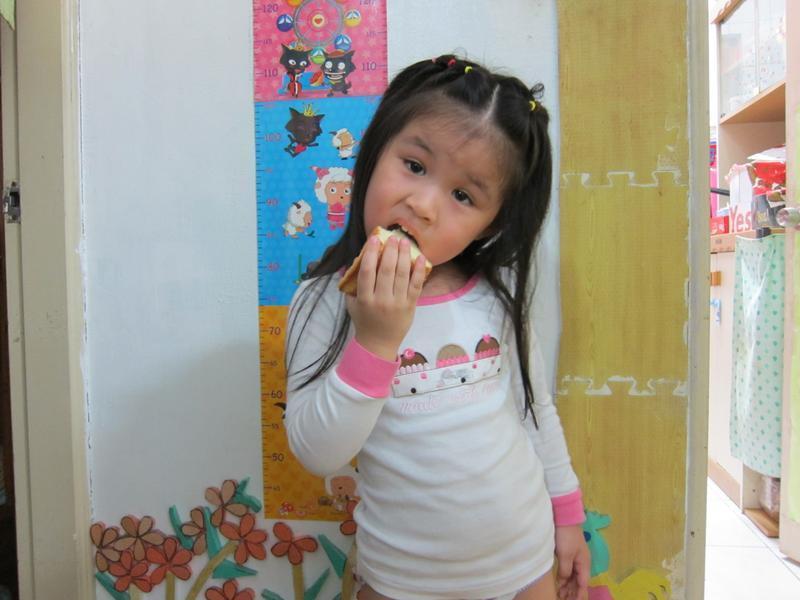
12耶!蛋糕太好吃了。不吃芋头,把芋头加入蛋糕里,照常全部一起吃下。