
【烘培笔记】芋泥戚风蛋糕卷〞的做法
发布时间:2019-03-10 18:04:31

 1
1烤箱预热170度;烤盘铺烘培纸备用;低筋面粉及泡打粉过筛备用 蛋黄加入20g细砂糖拌匀,再加入植物油拌匀 将低筋面粉、泡打粉及牛奶分2次交错加入(2)中拌匀
 2
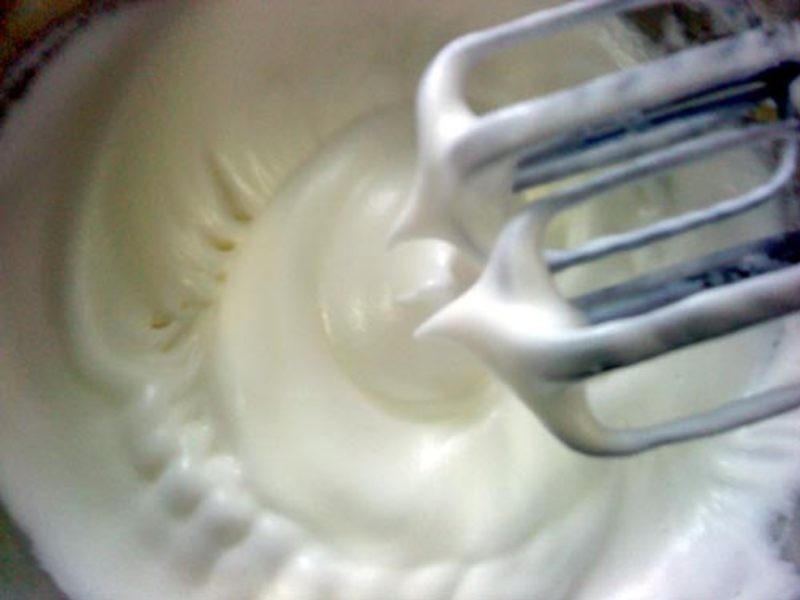
2蛋白打至起细泡沫,将40g细砂糖分3次加入后,打至湿性发泡偏干性发泡的程度
 3
3将1/3的蛋白霜加入(3)中,用刮刀拌匀
 4
4再将搅拌好的(5)倒入剩余的蛋白霜中,轻快的搅拌均匀
 5
5倒入烤模中,用刮刀稍微抹平表面,放入烤箱烤10~15分至熟
 6
6出炉后立刻连同烘培纸移出烤模,并撕开四边的烘培纸后放凉,以避免蛋糕体内缩造成高度不平
 7
7蛋糕体冷却后撕开底部的烘培纸,再将烤面朝上放在烘培纸上方,在开始卷的起始处划三刀(勿切到底),可让卷蛋糕时蛋糕体较不易破裂
 8
8铺上芋泥馅(我有另外铺一些八宝豆)
 9
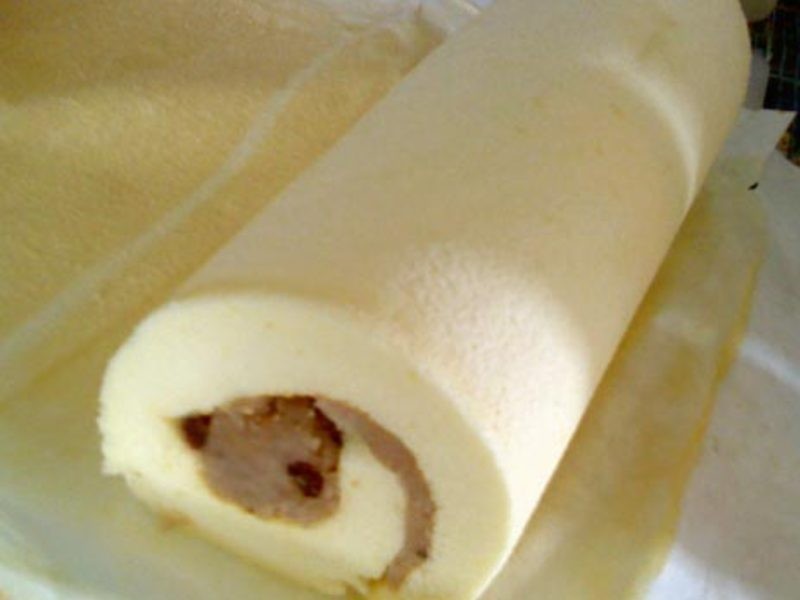
9连同烘培纸一起卷起蛋糕,连同烘培纸一起放入冰箱冷藏1-2小时定型 连同烘培纸一起卷起蛋糕,连同烘培纸一起放入冰箱冷藏1-2小时定型
 10
10定型后即可拆开烘培纸,切片食用~