柠檬小泡芙的做法
发布时间:2022-10-30 18:00:58

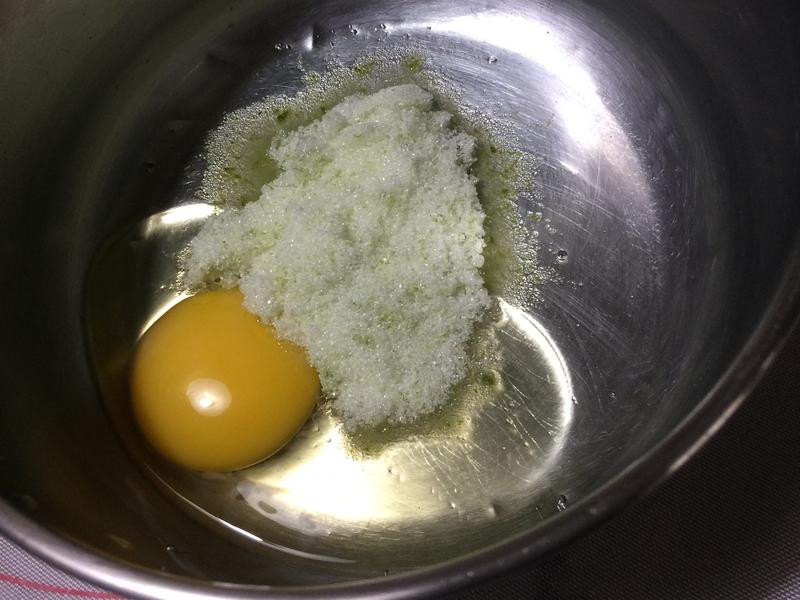 1
1将砂糖、柠檬皮屑先混合均匀,在把鸡蛋、柠檬汁加入柠檬皮屑糖一起搅拌均匀。
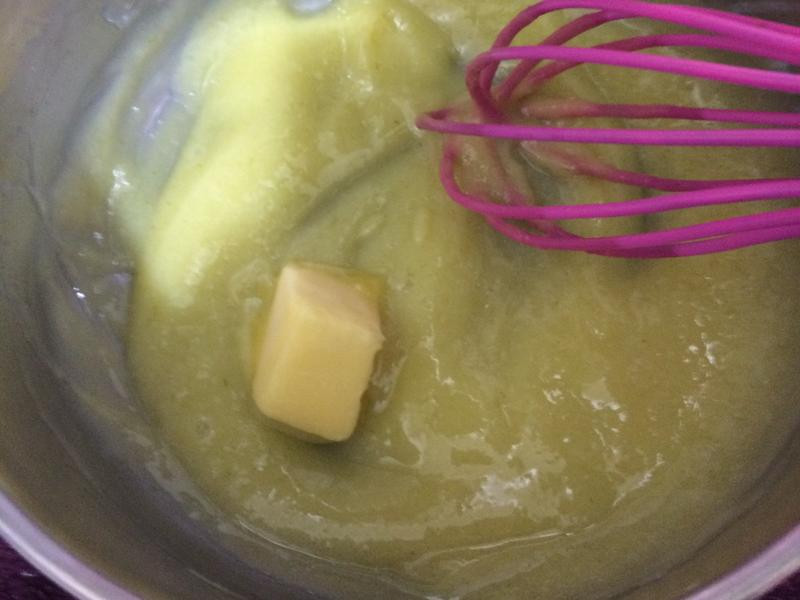 2
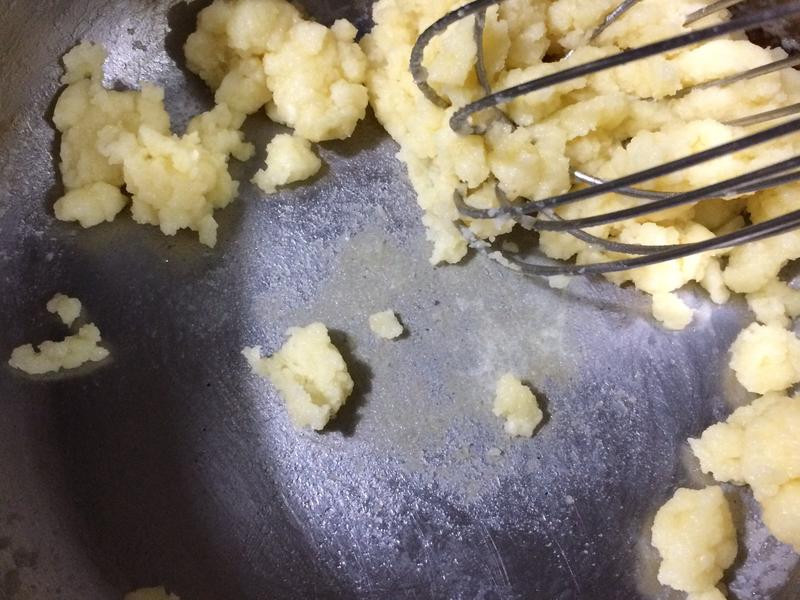
2隔水加热煮至浓稠,在用余温把奶油融化,放凉在放进冰箱冷藏至少1小时以上。
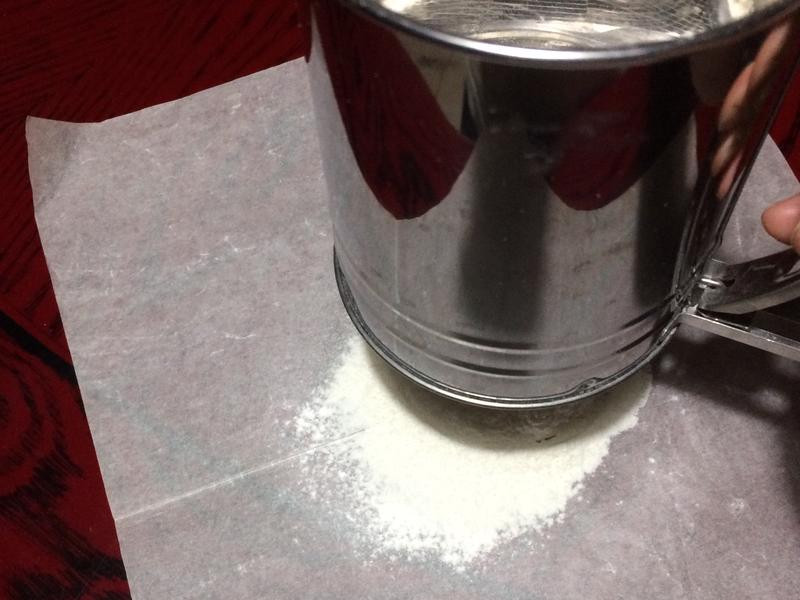 3
3低筋面粉过筛备用。
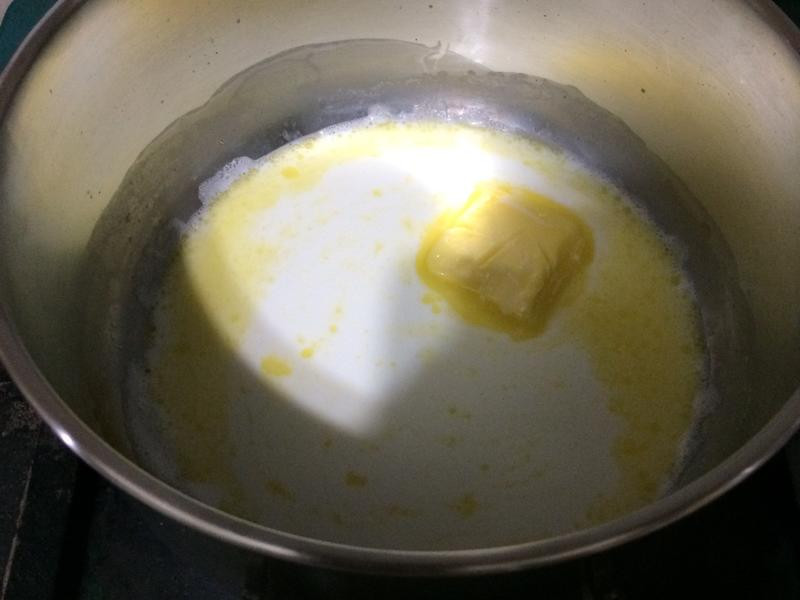 4
4鲜奶、奶油小火煮滚。
 5
5倒入低筋面粉煮至锅底有层薄膜即可离火,过程要不停搅拌。
 6
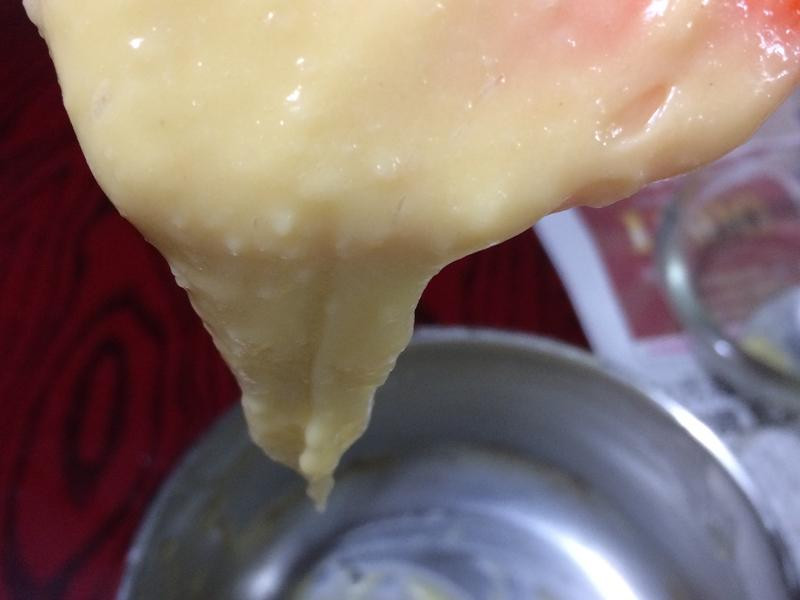
6分次加入蛋液,一次一点慢慢拌匀,拌至呈现滑顺及拉起可以呈现倒三角形即可,蛋液可以不用全部加完。
 7
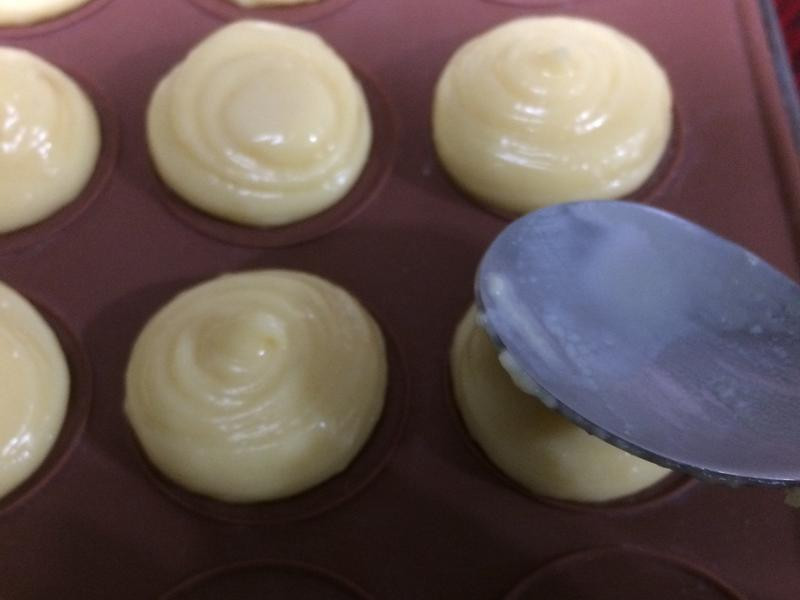
7烤箱预热190度,将面糊装入挤花袋内,挤至矽胶垫上,最后用汤匙沾点蛋液或是水把尖角抹平。(没有矽胶垫,用烘焙纸即可。)
 8
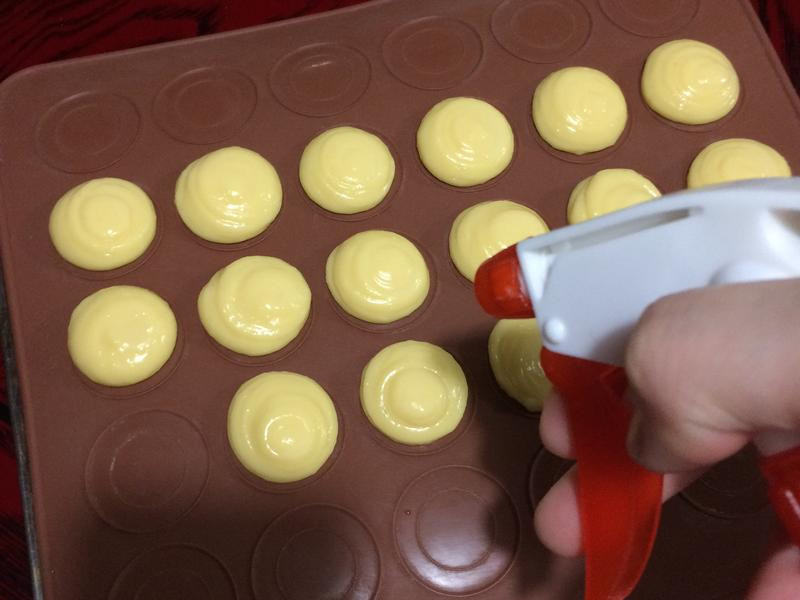
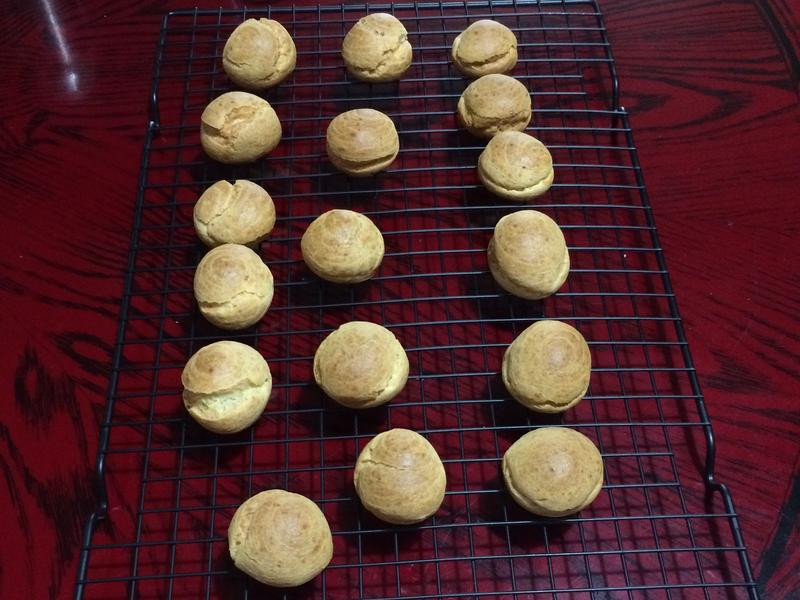
8进烤箱前喷点水,190度烤20分钟,降温170度烤10-15分钟,再闷10分钟。(过程中禁止打开烤箱)
 9
9出炉后移至冷却架上放凉,就能填入馅料。
 10
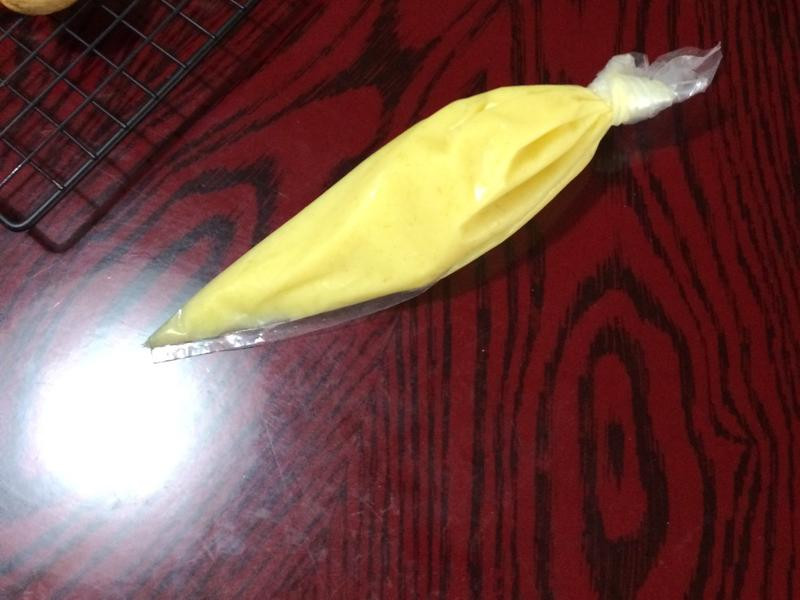
10将柠檬酱装入挤花袋内方便充填。
 11
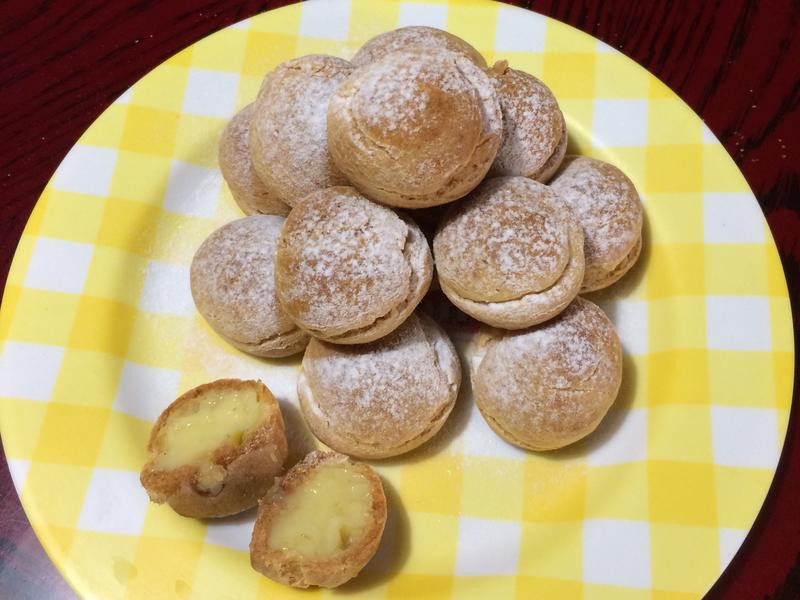
11撒上糖粉装饰,填完馅料的泡芙请尽快食用完,避免影响泡芙口感。