DIY手工蛋卷的做法
发布时间:2019-03-10 23:53:57

 1
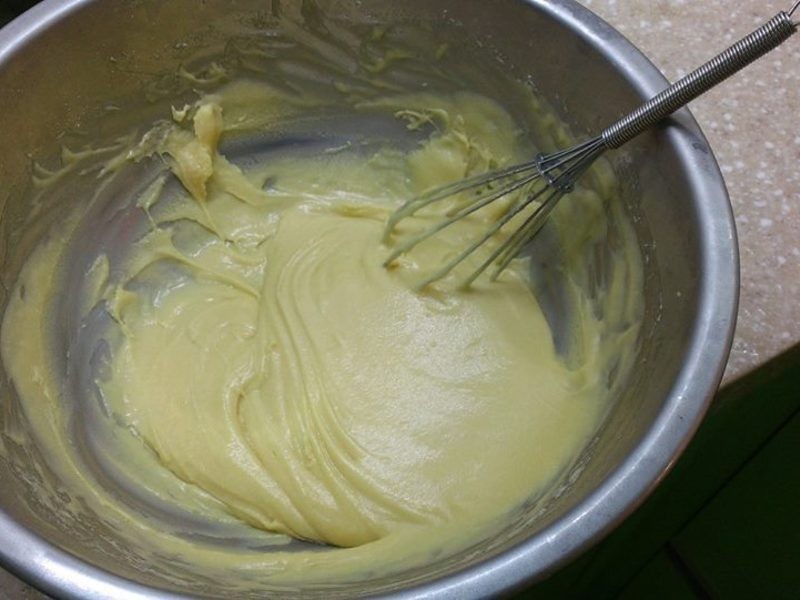
1奶油, 糖粉, 盐, 先均匀的搅拌在一起 (奶油融化了会比较好搅拌喔) 将蛋, 一颗一颗的打入 最后加入过筛的低筋面粉
 2
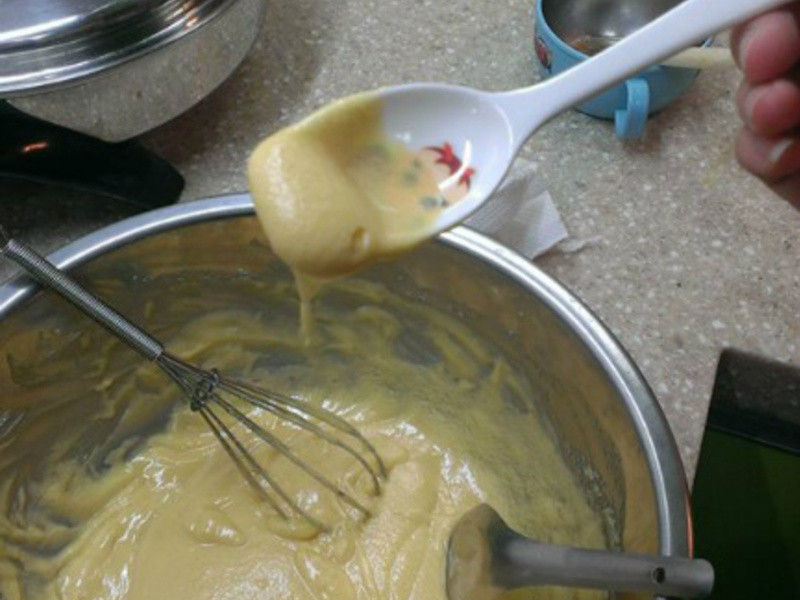
2使用约一汤匙的面糊(照片中的汤匙满满一匙)
 3
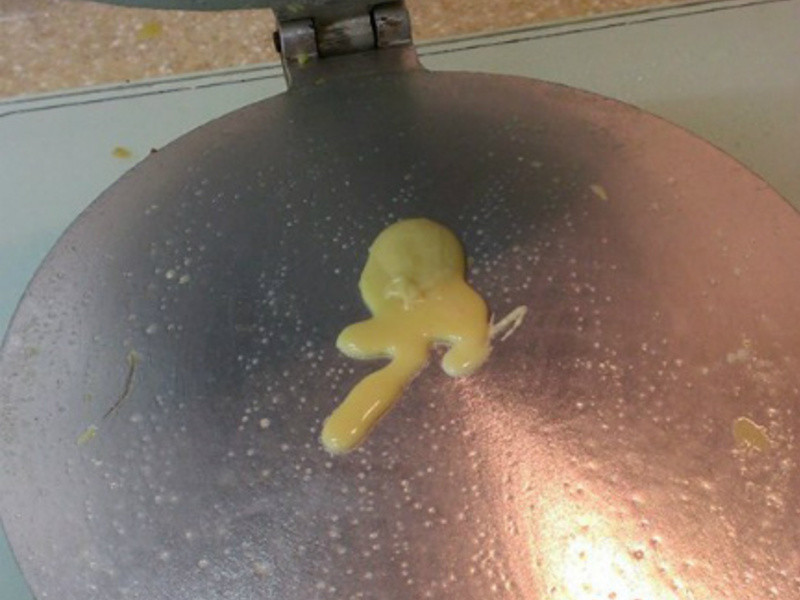
3放入蛋卷器中间
 4
4压扁他
 5
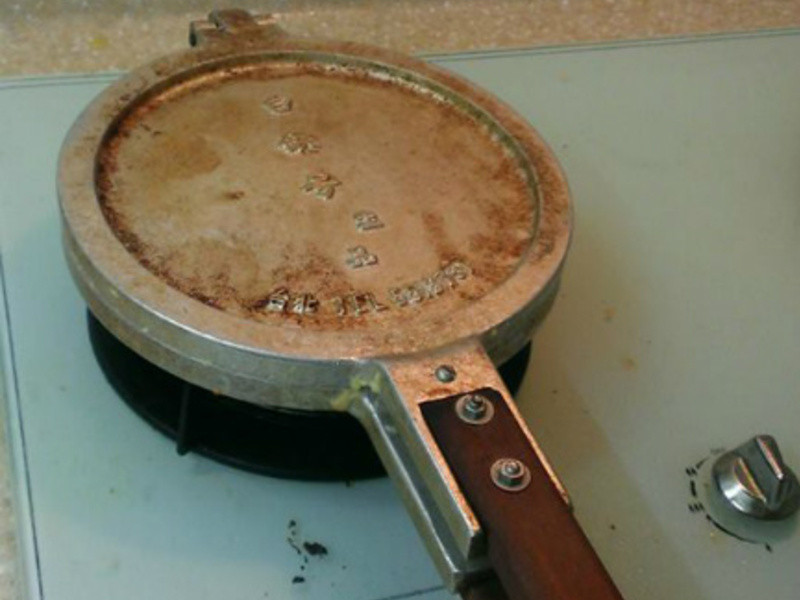
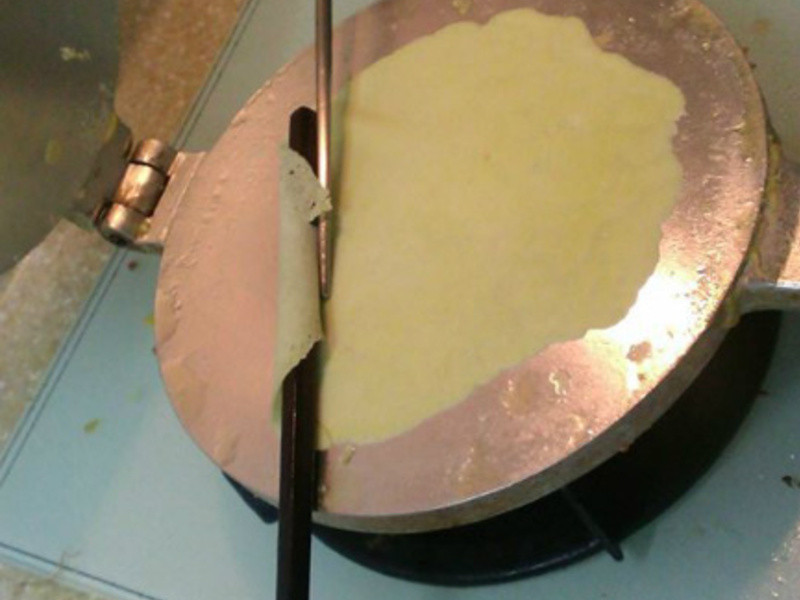
555秒后打开, 使用两支筷子双手并用的将煎好的蛋卷卷起
 6
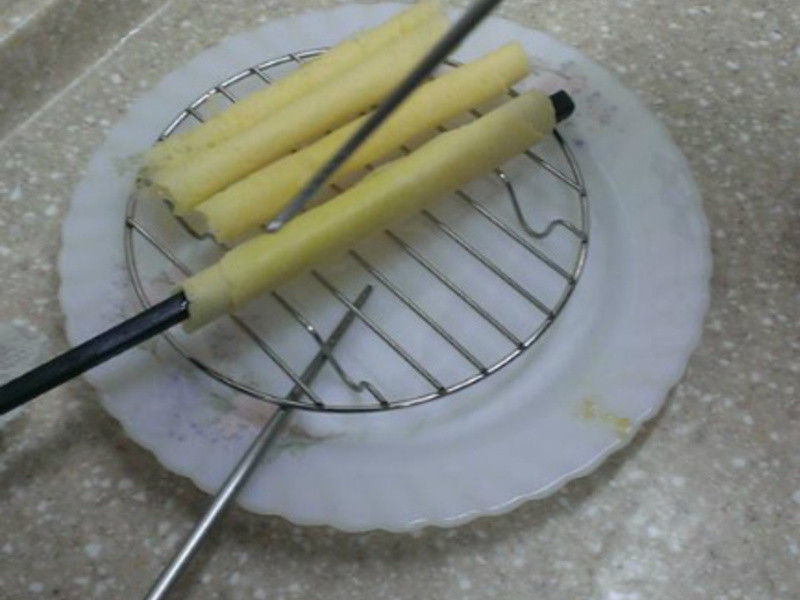
6放凉后就可以食用囉^^
 7
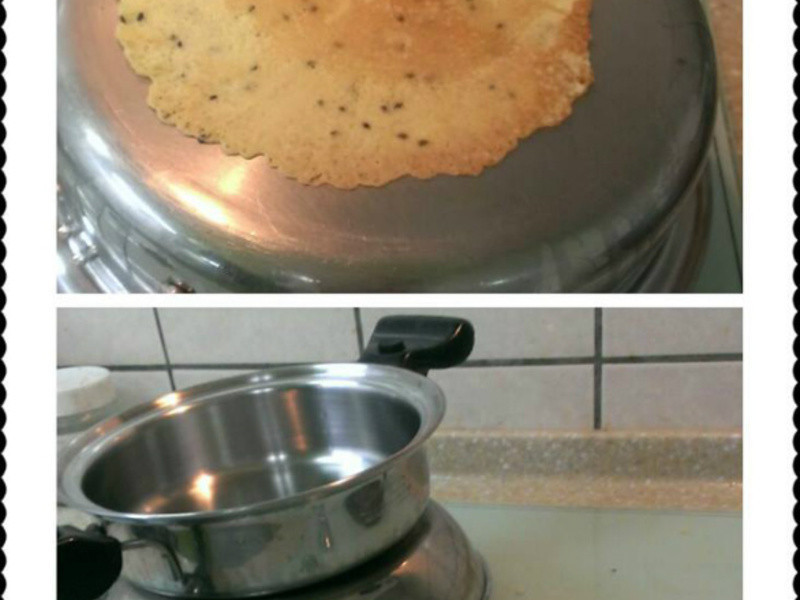
7(没有蛋卷器的朋友, 可用两个平底锅的锅底做喔!!!)
1奶油, 糖粉, 盐, 先均匀的搅拌在一起 (奶油融化了会比较好搅拌喔) 将蛋, 一颗一颗的打入 最后加入过筛的低筋面粉
2使用约一汤匙的面糊(照片中的汤匙满满一匙)
3放入蛋卷器中间
4压扁他
555秒后打开, 使用两支筷子双手并用的将煎好的蛋卷卷起
6放凉后就可以食用囉^^
7(没有蛋卷器的朋友, 可用两个平底锅的锅底做喔!!!)