
DIY手作汤圆的做法
发布时间:2019-03-10 20:31:47
 1
1什么牌子的糯米粉皆可
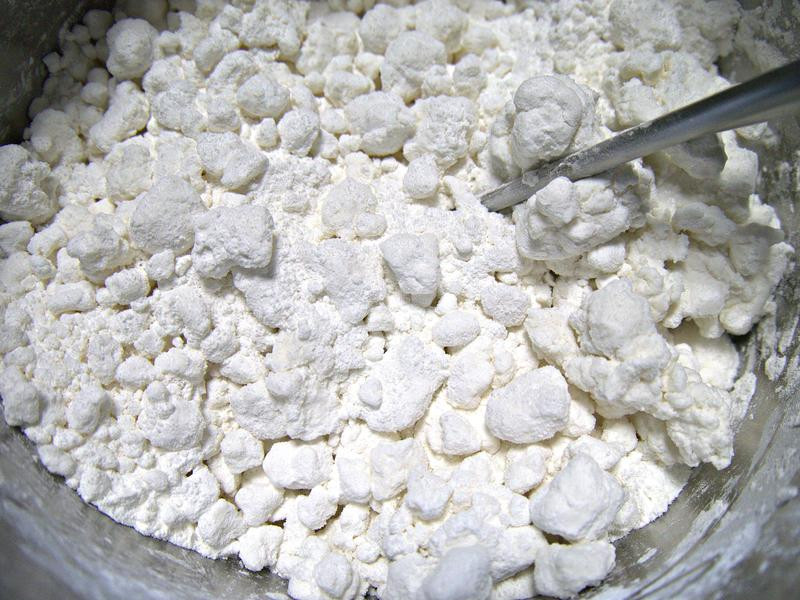 2
2取1个盆子(大一个等会儿比较好使力拌开...) 糯米粉倒入,先加入一半的水 用筷子先拌匀 拌到像图片这样一团团的 水不够就再加些 剩的水备用 (千万别一开始就用手拌 相信我..你会黏满手)
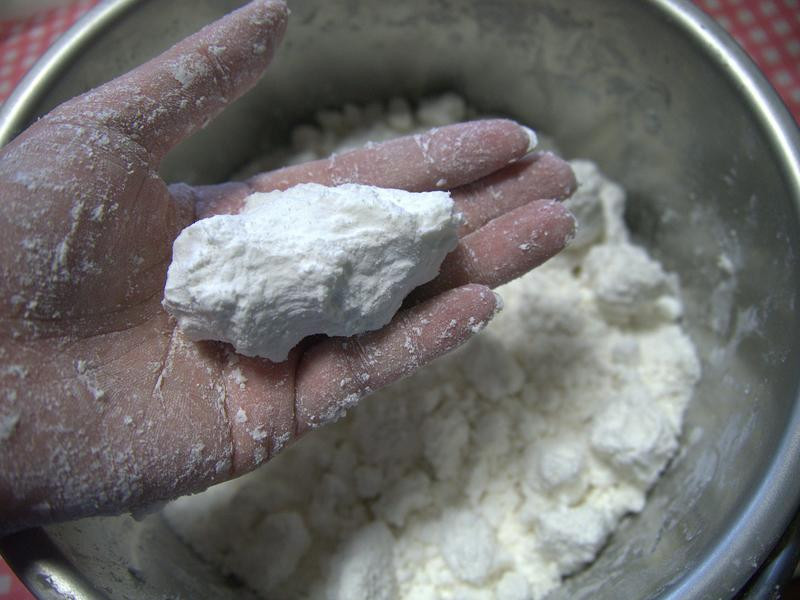 3
3试着用手去捏看看 ,是否可以成团而不散开来 ?可以的话先不要再加水进去了喔
 4
4捏几个小团子 (约拌的粉团量的1/4左右 不用太多) 如下图(所以请大家记得捏小一点 扁的也行......)烧一锅水 准备煮这些团子 煮到浮起来
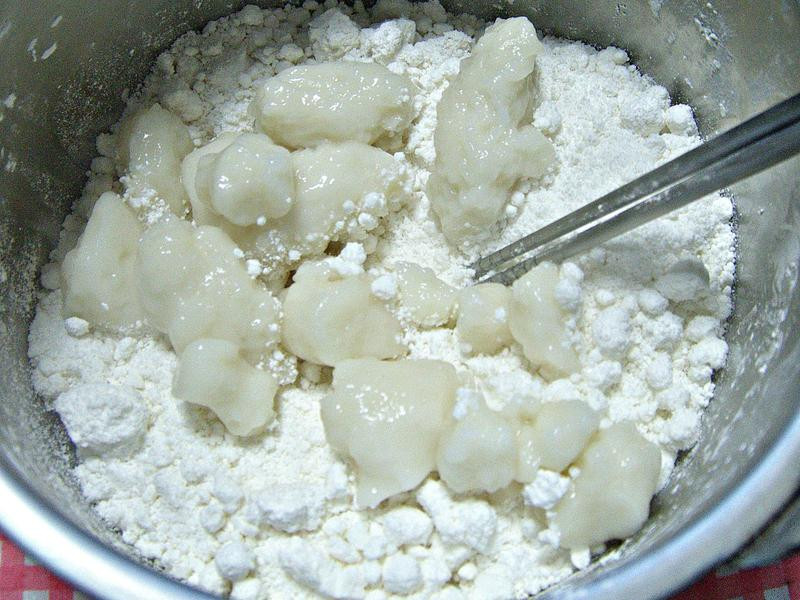 5
5煮好的团子放入刚才拌的粉中 稍用粉盖团子 等下比较不黏手接下来拿出万能的双手 使劲的把它揉均在一起
 6
6水不够就再加些水 如果水份够了 就不要再加了喔 以不黏手的程度为主喔!!!!(会黏手表示太湿了再加些粉)
 7
7将熟粉团与干粉揉匀的成果 表面光滑跟外面买的粿脆一样 跟小时候看用磨米机做出来的一样
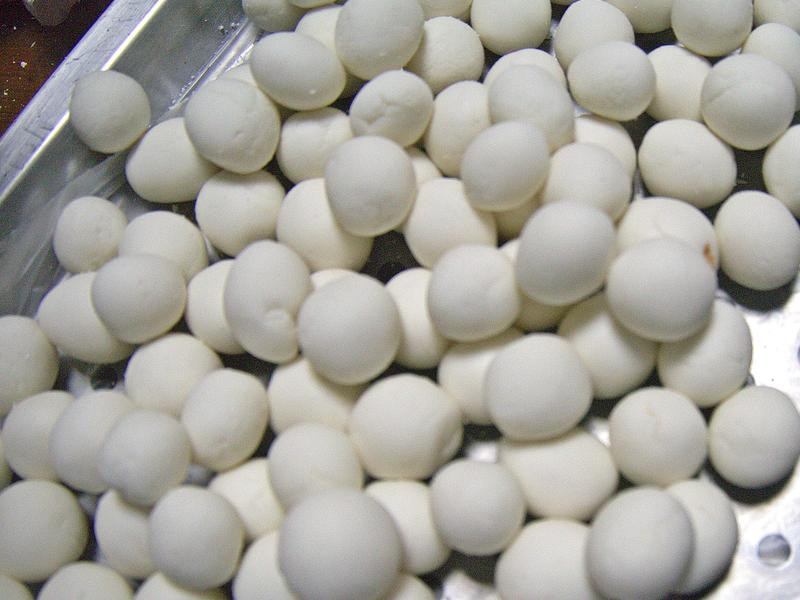 8
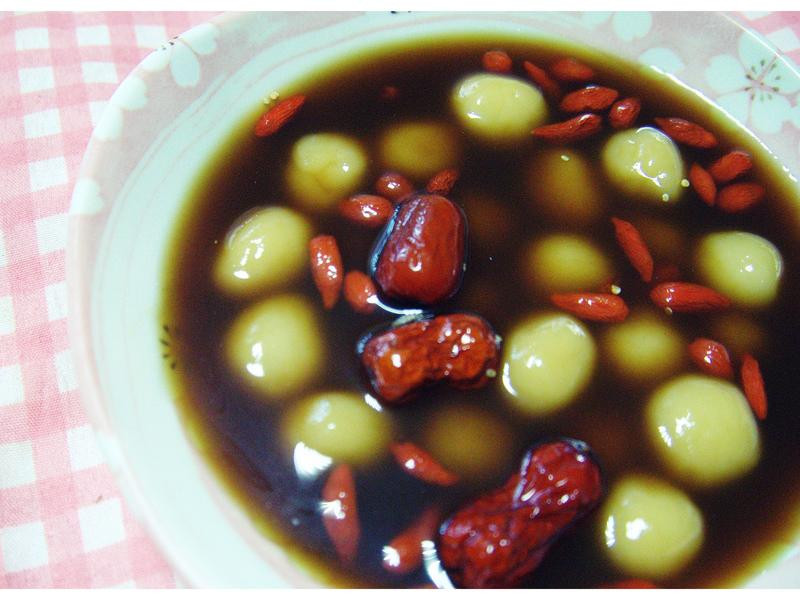
8接下来就可以开始玩汤圆了喔 (汤圆怎么煮就不说明了 相信聪明的大家一定都很会....)
9(糯米粉版)Q到无止尽