蜂蜜吐司【VICI的懒人厨房】的做法
发布时间:2019-03-10 18:27:33

 1
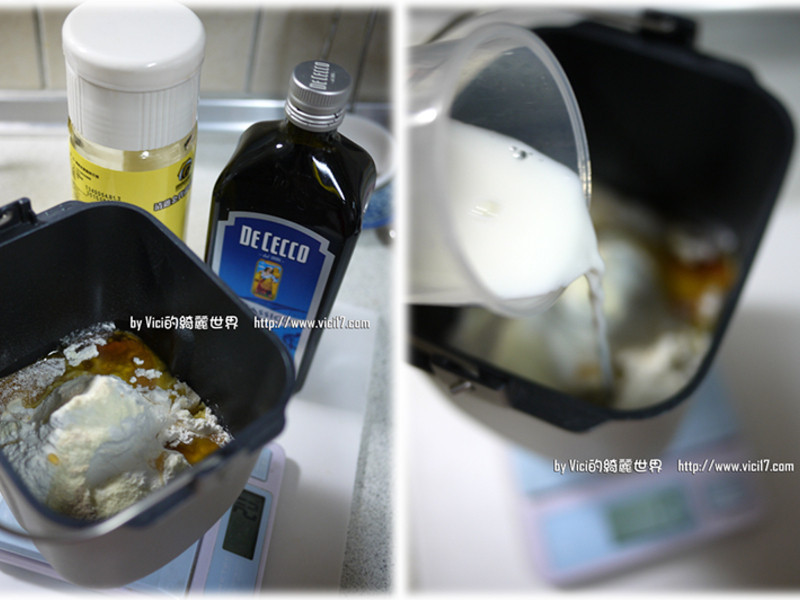
11 使用面包叶片2 先加入面粉、奶粉后,再把酵母、蜂蜜、橄榄油依序加入,使中间高于周边3 接着绕着周边倒入鸡蛋鲜奶
 2
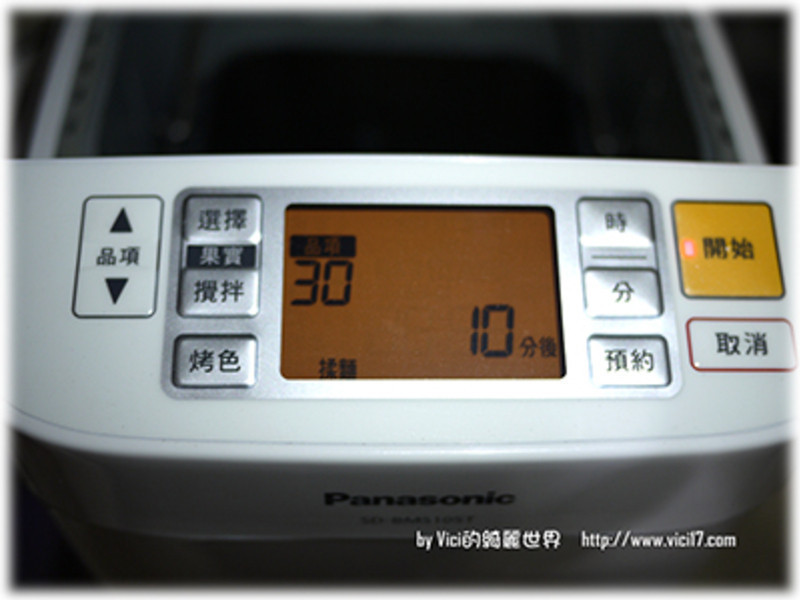
24 选品项30
 3
35 跑到第5分钟,打开上盖加入盐后,让它跑完全程6 第一个30完成后,按下取消键;接着再按品项30,跑十分钟后按下取消键
 4
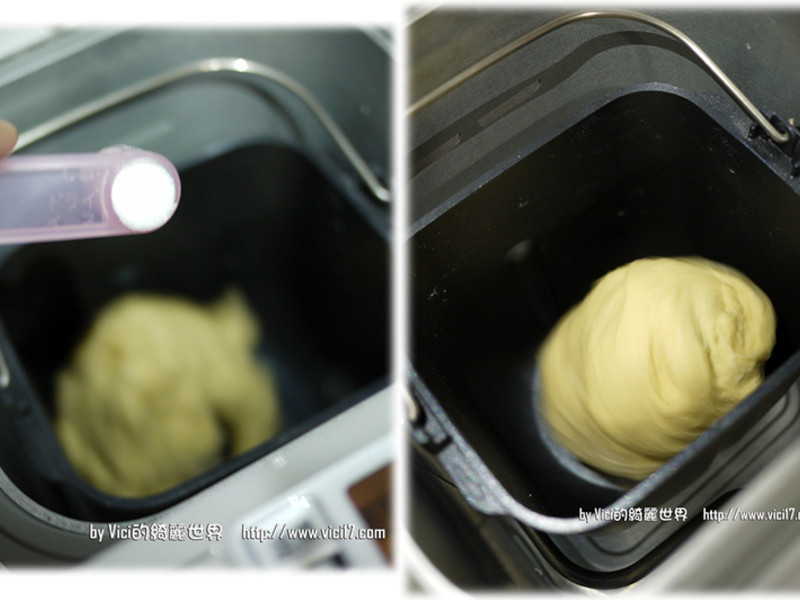
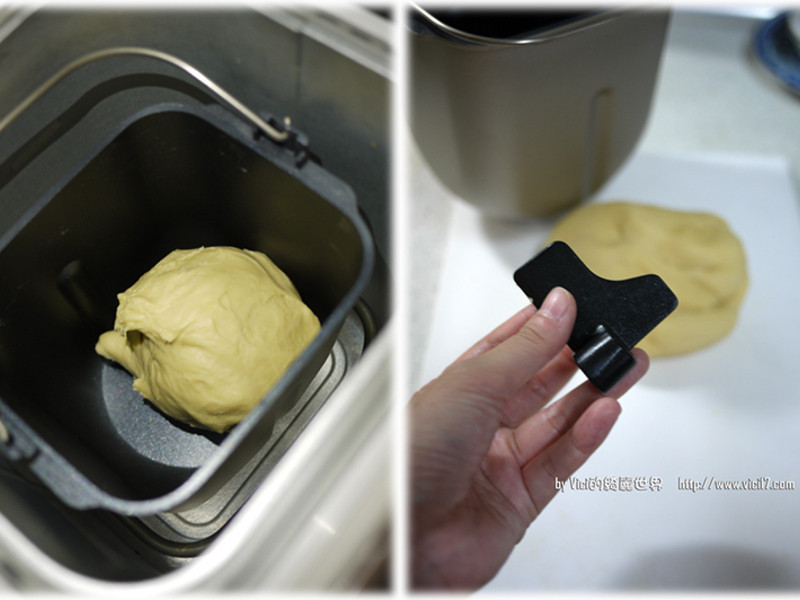
47 接着让面团静置20分钟后,取出面团与面包叶片
 5
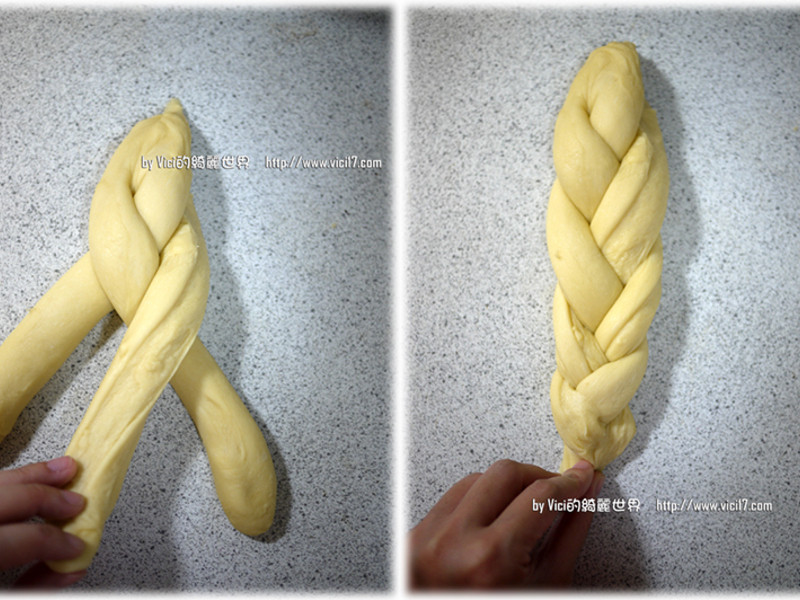
58 将面团揉一揉排出空气后,分成二份9 取其中一份面团揉成长条型后,留头 切成三长条10 接像像绑辫子一样,最右先压上中间后,最左再压上中间,依此方式绑至最后尾端。三股压紧
 6
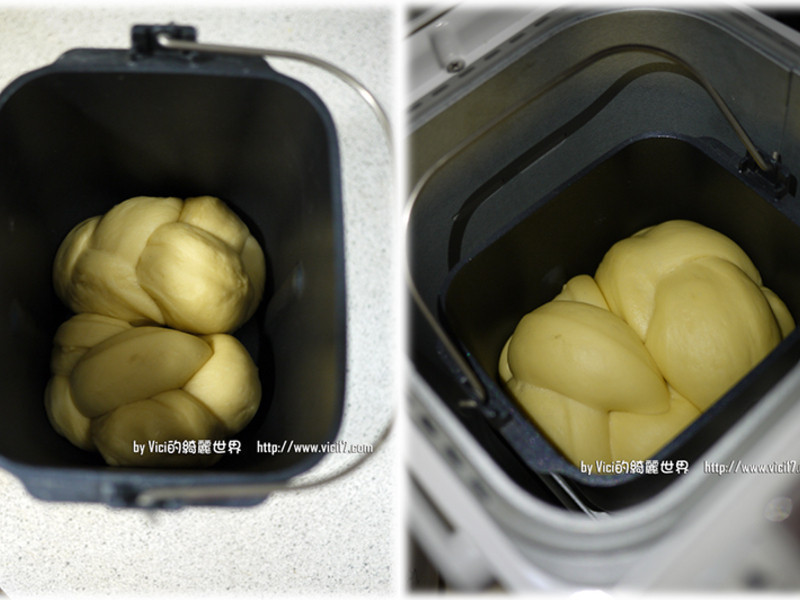
611 反过面,最上及最下端皆往中间位置折后,压紧12 再反过面即可,另一份面团同方式辫好后,并排放入面包容器13 接着放回面包机,按下品项21让它发酵至8分满后,按下取消键
 7
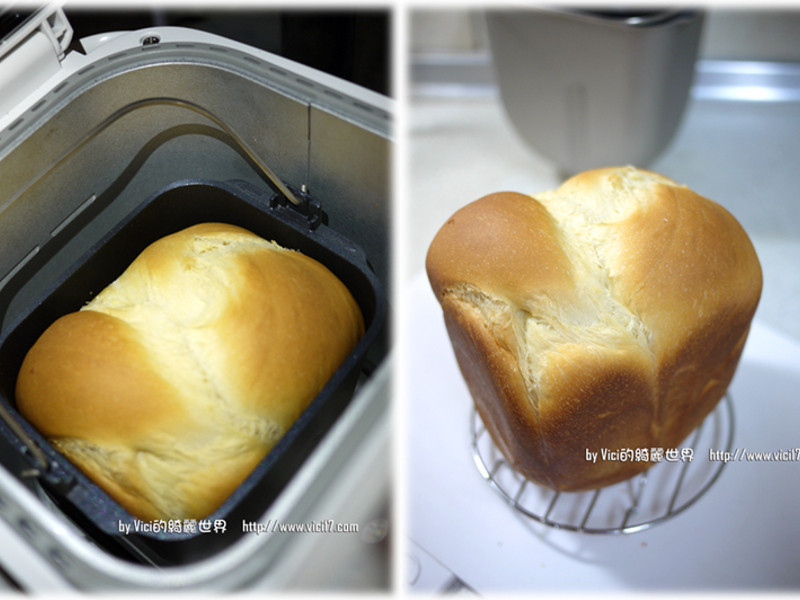
714 选品项22开始烘烤,哔声响时完成即可按下取消键
 8
817 完成后,戴上手套马上取出吐司、倒出放凉即可