
蜂蜜红萝卜戚风的做法
发布时间:2019-03-10 07:59:58

 1
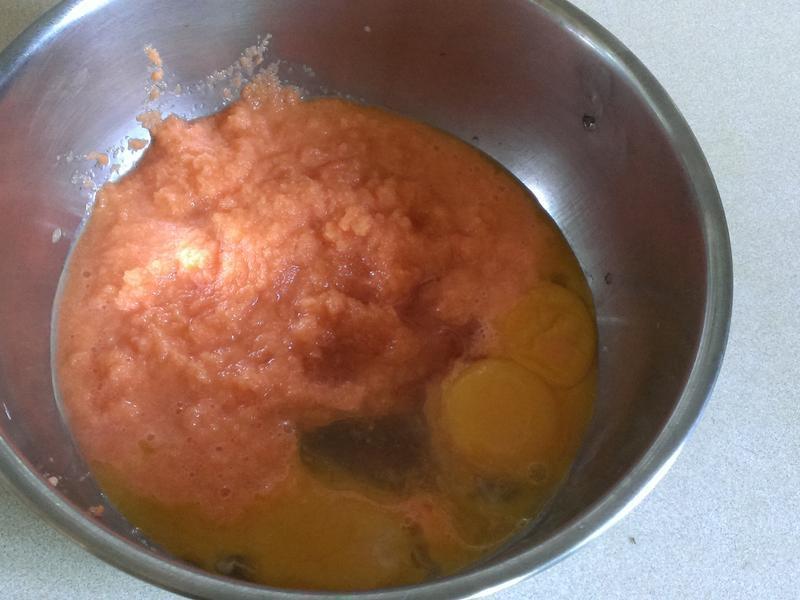
1将蛋黄面糊蛋黄、蜂蜜、沙拉油、养乐多与萝卜泥拌匀
 2
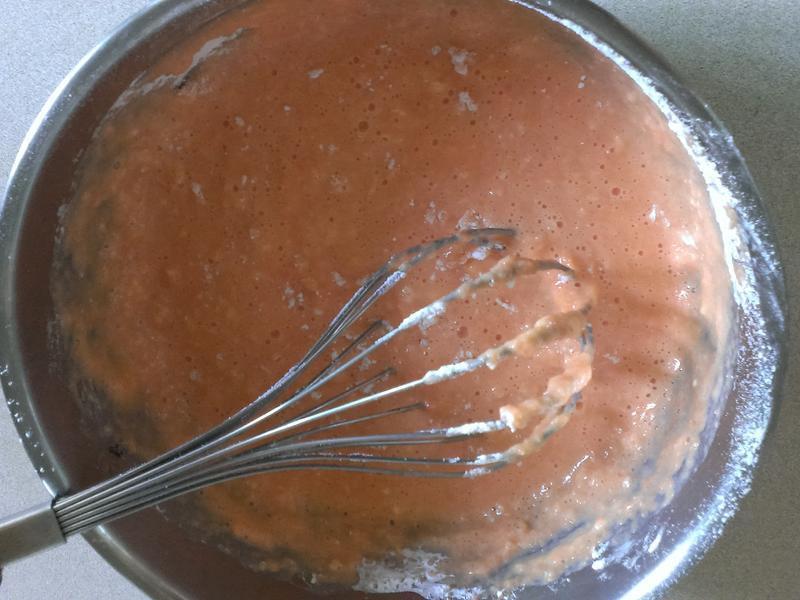
2再把蛋黄面糊中的低筋面粉过筛加入,拌匀无粉粒就好,避免过度搅拌。蛋黄面糊这样就完成了,可以放旁边备用
 3
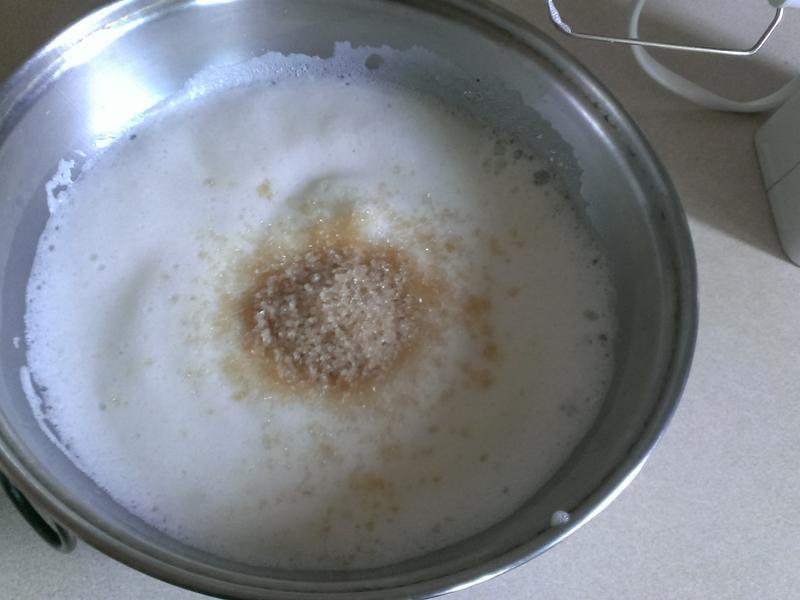
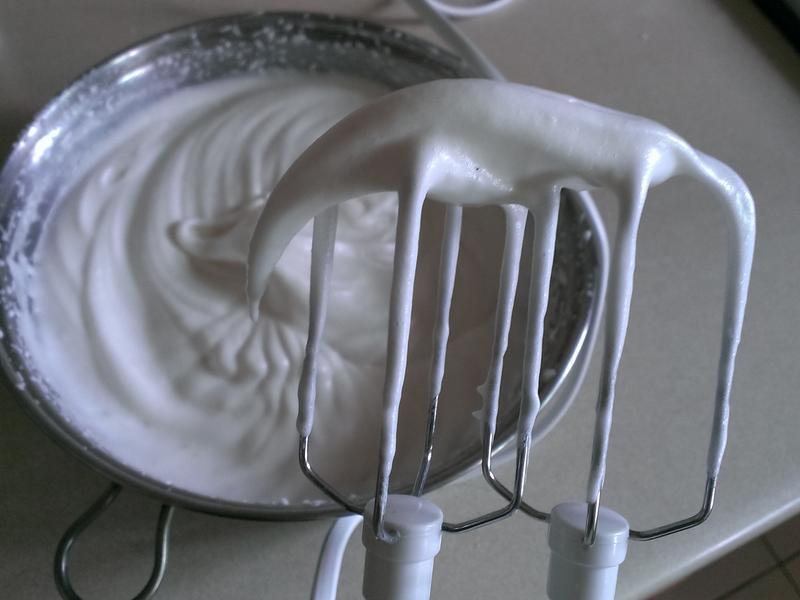
3取蛋白面糊中的冷藏蛋白,先打至粗泡加入1/3砂糖,继续搅打;再次搅打到泡沫略呈细致,再加入1/3砂糖
 4
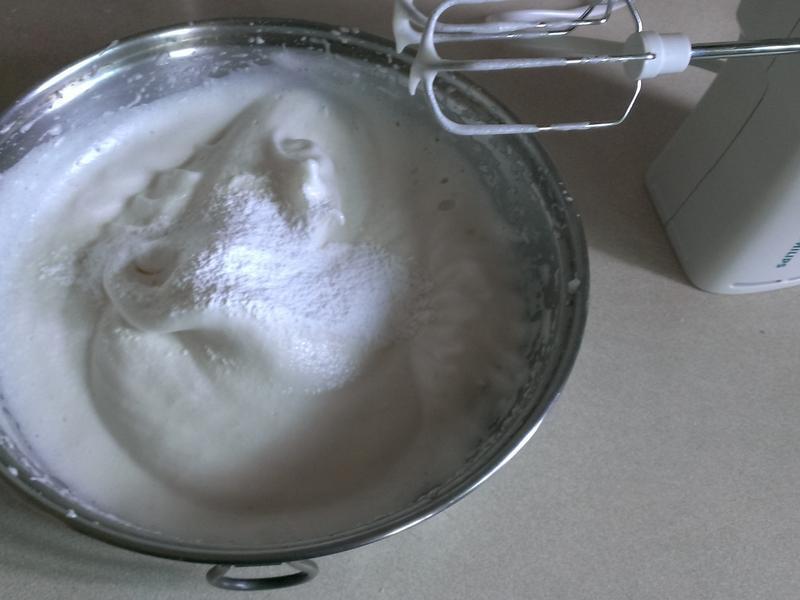
4最后蛋白泡沫略成稠状,加入蛋白面糊中的柠檬汁、玉米粉与剩下1/3的砂糖,快速搅打10秒钟
 5
5最后提起打蛋器,蛋白泡沫略呈微勾,但不会快速滴落,这样就完成蛋白打发了
 6
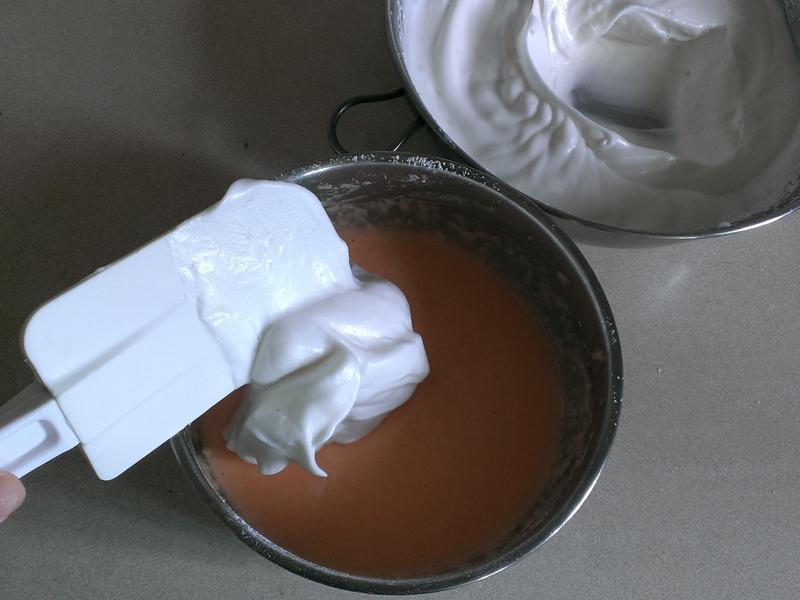
6先挖一大匙打发蛋白加到步骤2完成的面糊中,快速搅拌均匀。这步骤可以使两种面糊质地比较相近,稍等面糊加到打发蛋白中,打发蛋白比较不会快速消泡
 7
7步骤6拌匀的面糊倒入打发蛋白中,使用调拌刀已「切」、「拌」的方式,把底线面糊翻起与上层面糊搅拌,这时候动作要快速,避免搅拌过度消泡了
 8
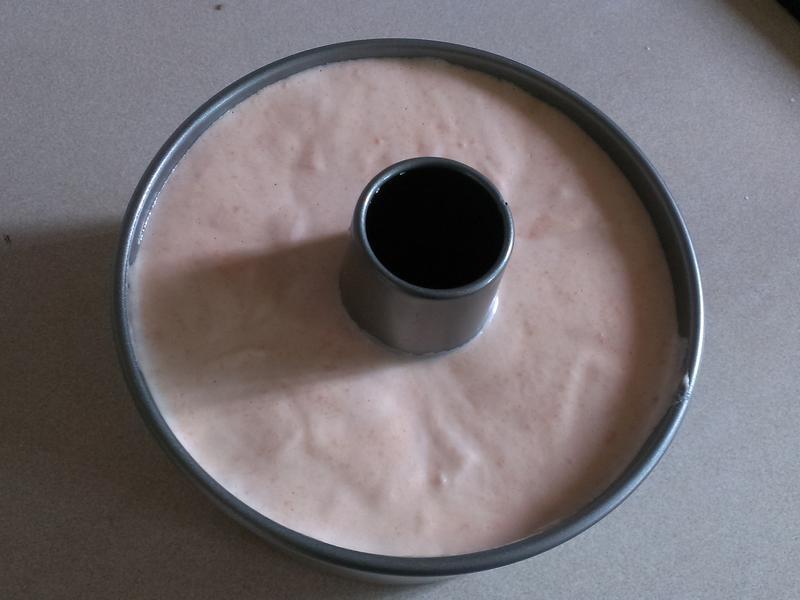
8将拌好的面糊,由高处到入模型中,把烤模在桌上敲两下敲出大气泡,再用竹签在面糊中画8字,让底部气泡往上浮。送进烤箱以180度烤10分钟,再转160度烤30-35分钟,竹签插入没有沾黏蛋糕糊就是烤熟囉!
 9
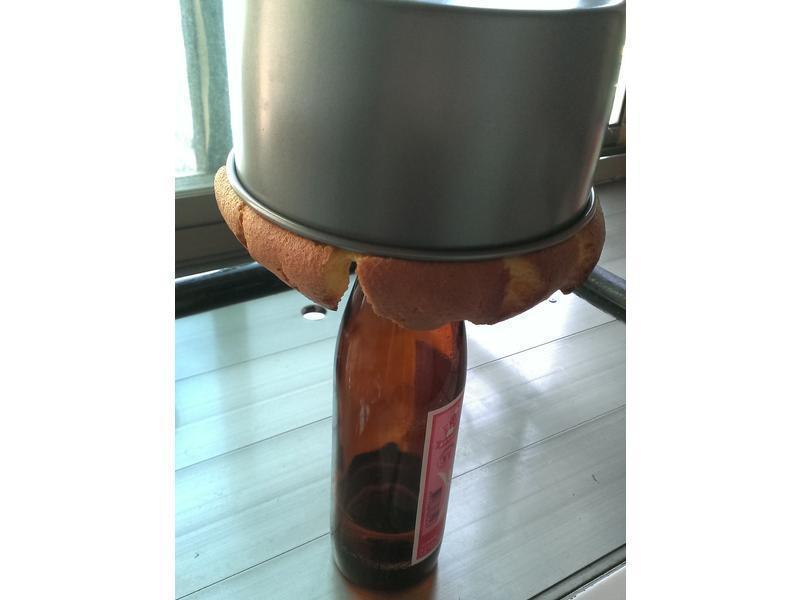
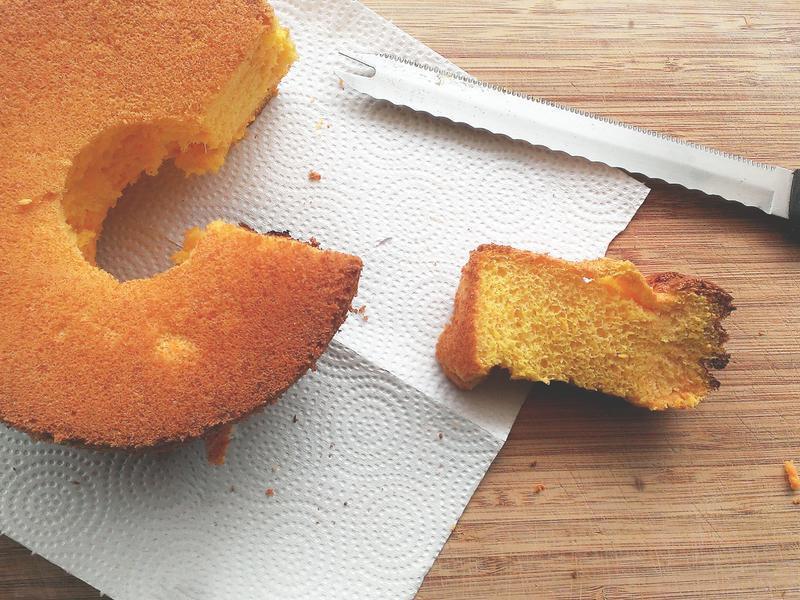
9出炉后的蛋糕在桌上敲一下,震出热气后倒扣,放到全凉以后再脱模
 10
10戚风蛋糕很有弹性,可以沿着圆模按压一周(或用尖刀贴模壁画一圈),从分离模下方往上一推,最后拿较扁平的尖刀,在烤模底盘画一圈,就可以轻松脱模了!