▊食谱。咖哩土司 ▊的做法
发布时间:2019-03-10 11:00:20

 1
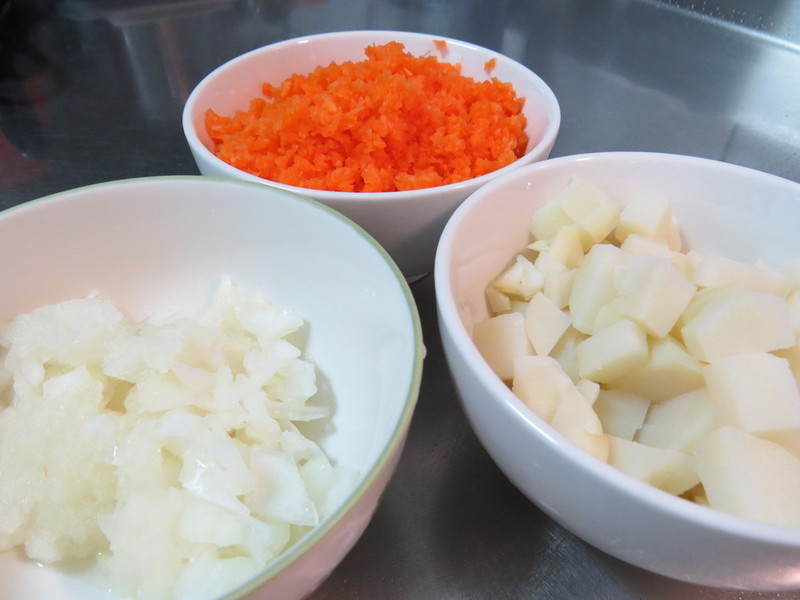
1将红萝卜用食物搅拌机打成细颗粒《或用刀切也行》,洋葱切成小块,马铃薯去皮后整粒放入电锅内蒸熟后,切成小颗粒备用
 2
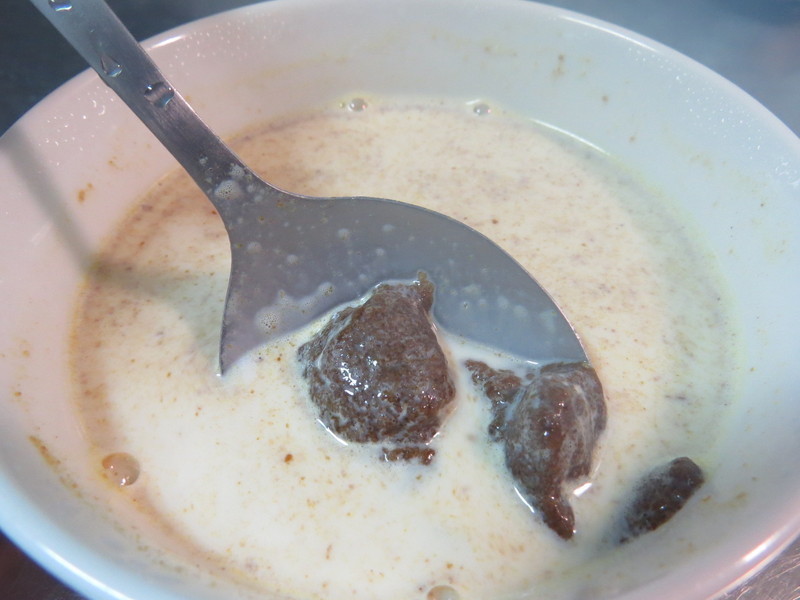
2咖哩块先融于温牛奶内备用
 3
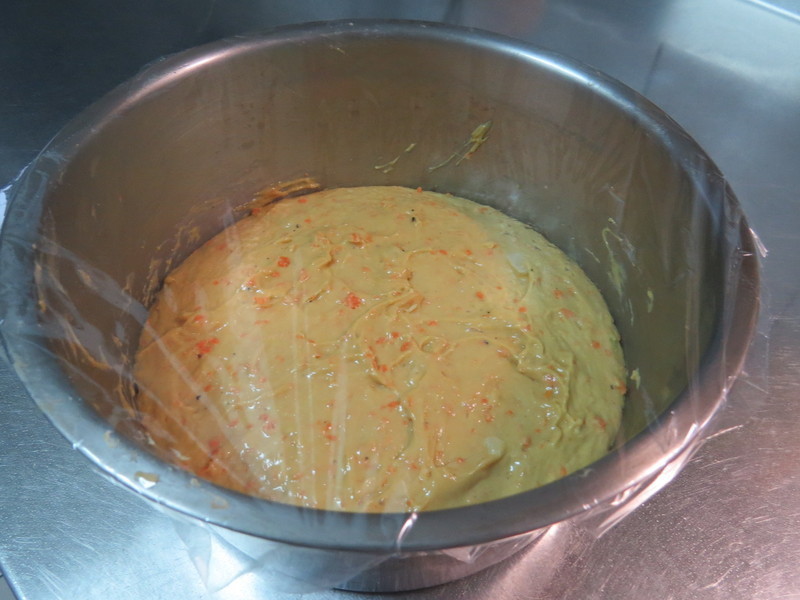
3高粉过筛后,把所有材料(除奶油与盐巴与马铃薯块)全部把放入搅拌机内或匀,时间约15分钟,然后再把奶油和盐倒入搅拌机内,使粉打成面团,时间15分钟
 4
4面团成形后,取出放入事先搽好油的容器内,然后不断的摔打面团《约20下》并顺势将面团滚圆,再盖上保鲜膜,把面团放入电锅内做初发,时间约45分,待面团大一倍时,即可取出
 5
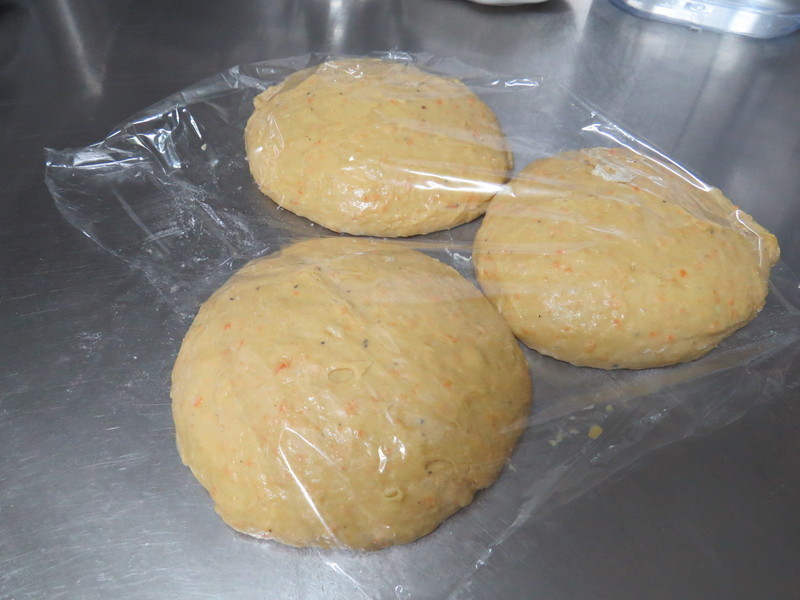
5)然后将涨大的面团分割为3等份,再盖上保鲜膜,做中发的程序,时间40分
 6
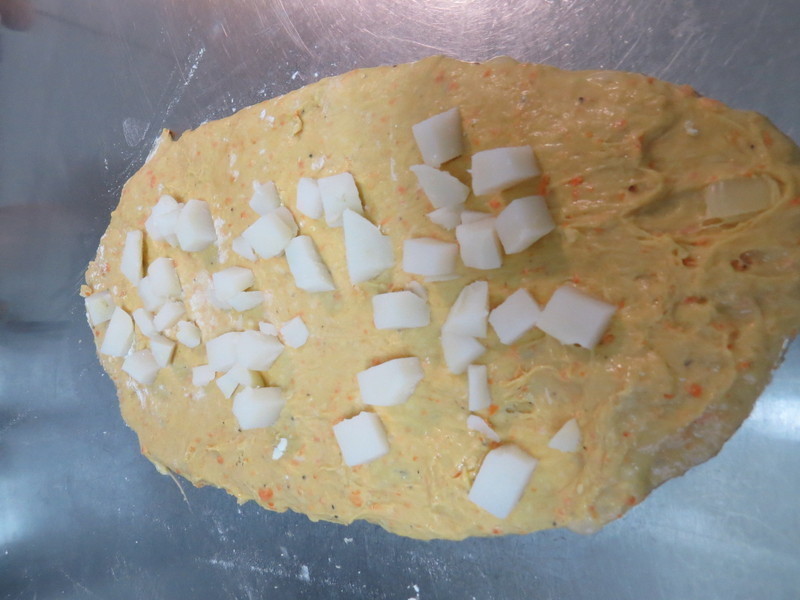
6中发后把面团用捍面棒捍成长方形,然后上下对折起来,把上下对折的面团再捍成长方型状,其宽度就和半盒的土司模型一样宽就好了,然后把马铃薯平铺于面团上
 7
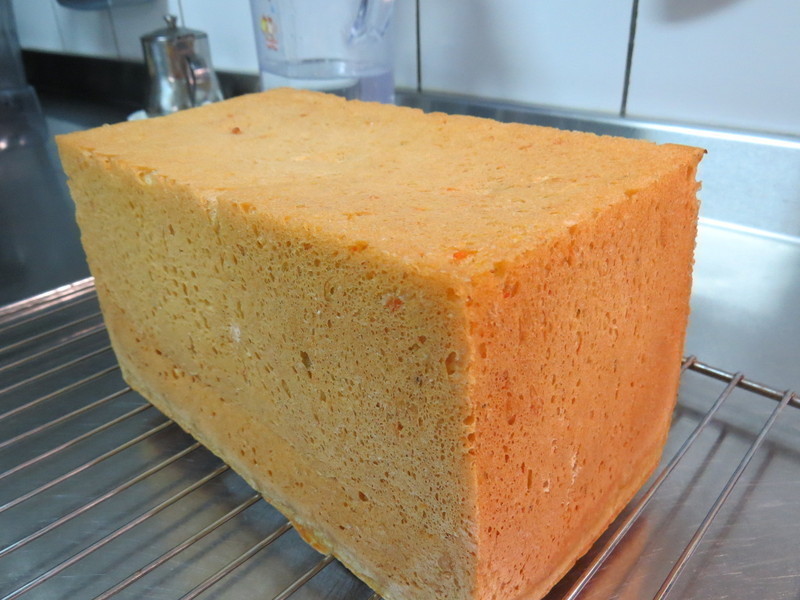
7把面团卷起,放入事先搽油的烤模内做后发,待土司发酵至烤模的9分满时即可入炉烘烤,上下火220度/35分
 8
8呵!呵!!难得一见的四方形,哈哈....好开心呀~~~
 9
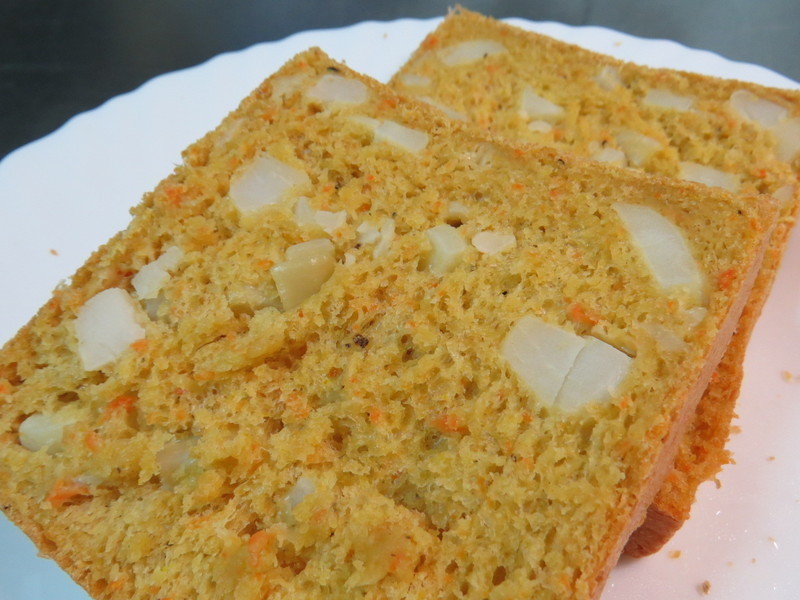
9味道浓郁又好香的咖哩土司,而且每口都吃到洋葱与马铃薯,就好像是在吃咖哩一样唷~~