
草莓奶酥饼干的做法
发布时间:2019-03-10 10:10:49

 1
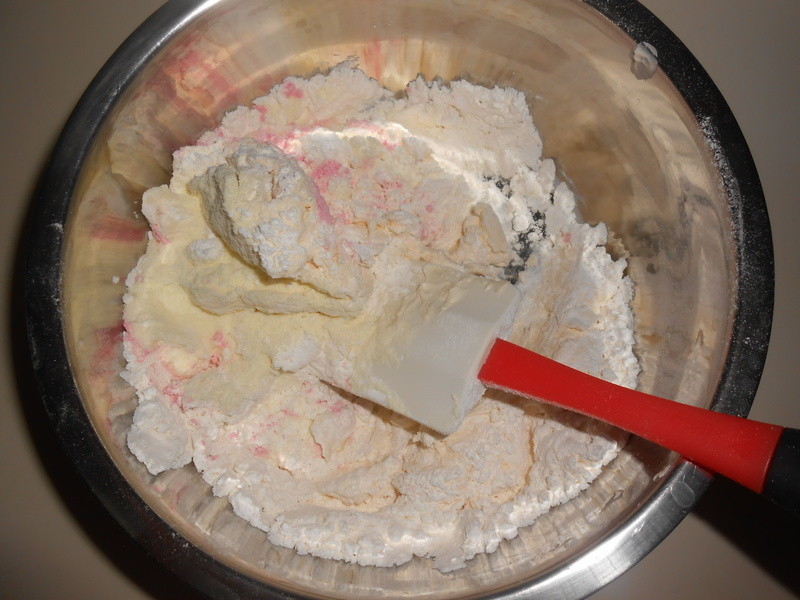
1材料一的奶油先切小块放室温变软,用打蛋器打匀后把糖粉倒入、搅打至发蜡状,再把半碗的蛋液分三次加入搅打(每次搅打都要到蛋液和奶油融合再添加),搅打到融合后用刮刀拌到钢盆里。
 2
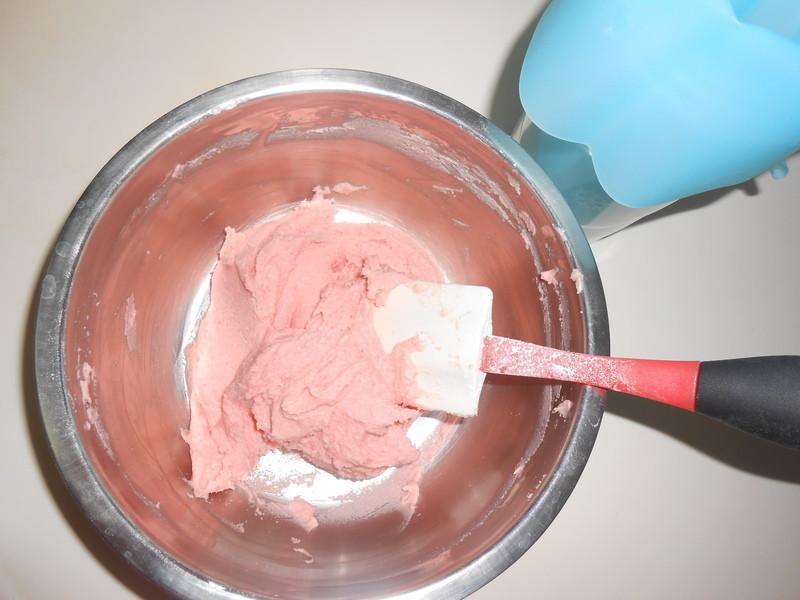
2把材料三过筛进来。
 3
3刮刀拌匀后,装到挤花袋里备用(也可以装塑胶袋、再把角角剪1公分小洞替代)。
 4
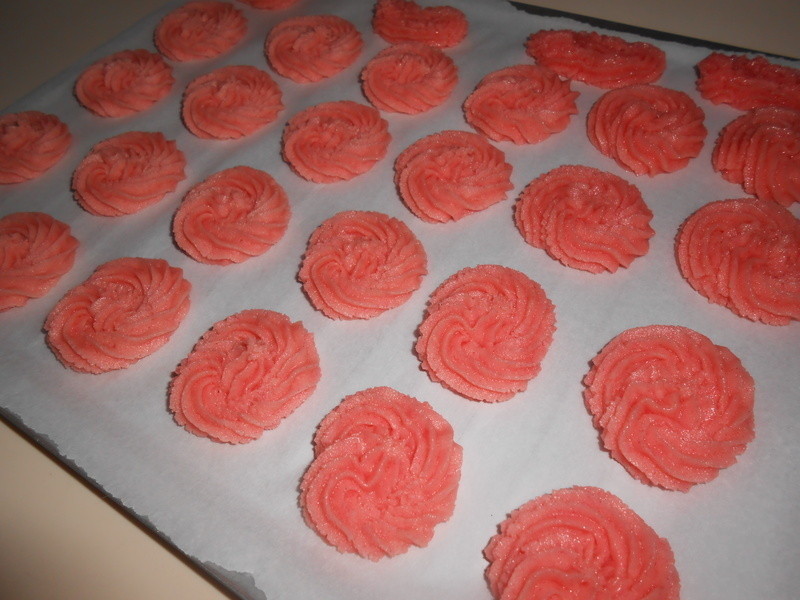
4这时把烤箱预热170度10分钟,然后开始挤花。
 5
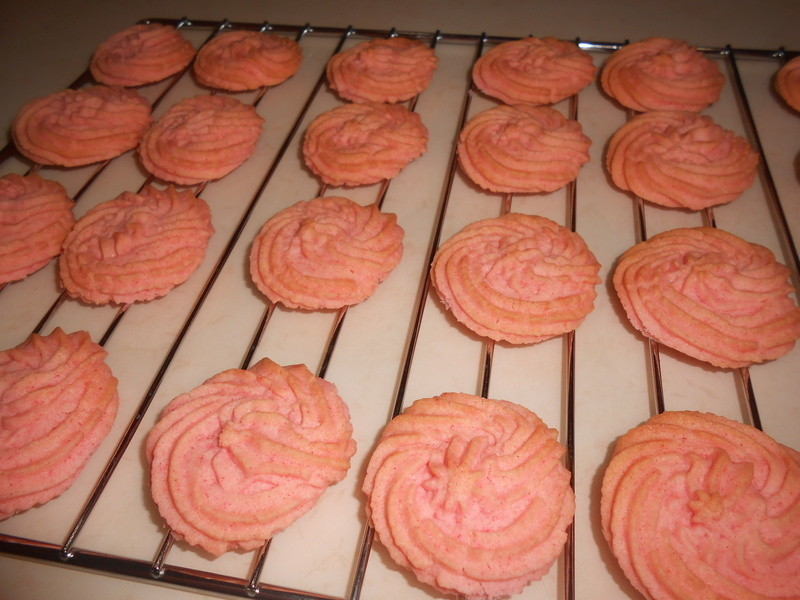
5全部挤完入烤箱用170度烤15分钟上色即可,烤7~8分钟时要把烤盘取出来换边,烤好比较不会二边颜色不同。