圣诞雪球塔的做法
发布时间:2023-01-08 16:06:31

 1
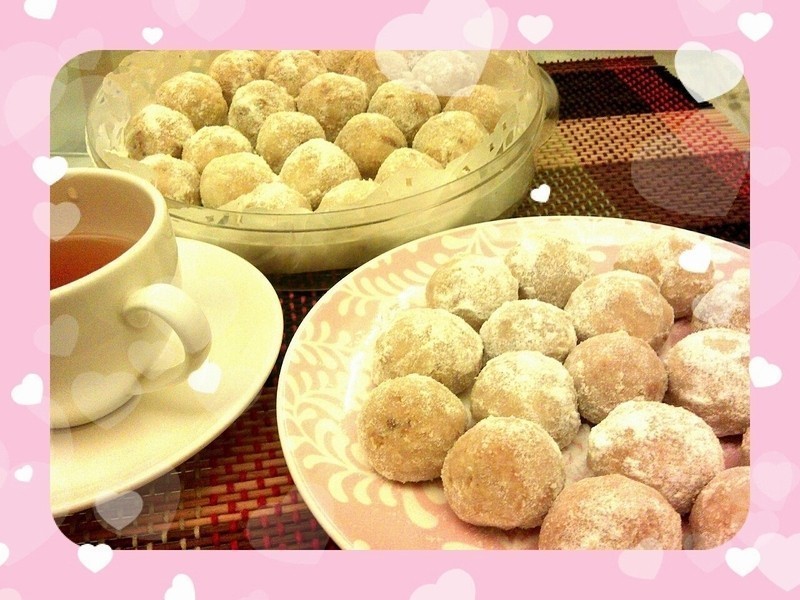
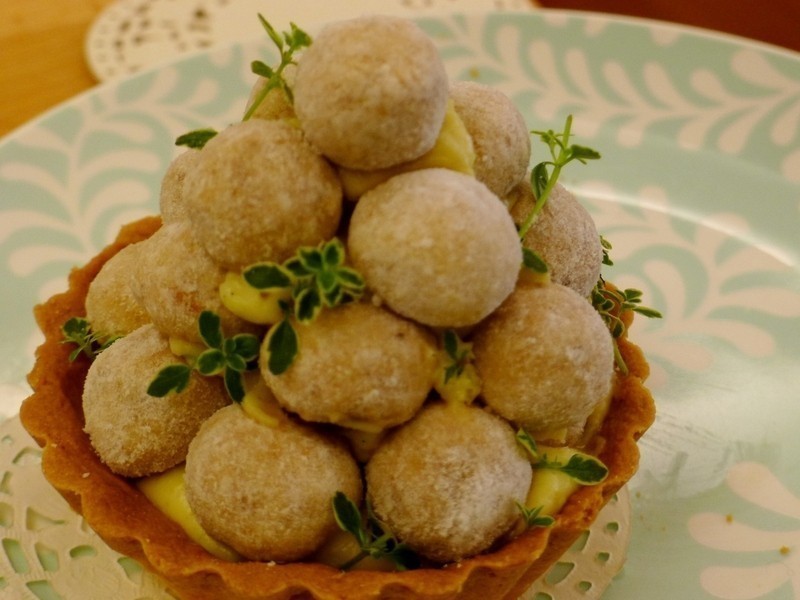
1雪球饼干制作好备用(雪球饼干作法请参照食谱http://icook.tw/recipes/47773)
 2
2制作塔皮,无盐奶油放置室温下软化后用按动搅拌机搅拌成乳霜状,加入糖粉继续搅拌至颜色变白
 3
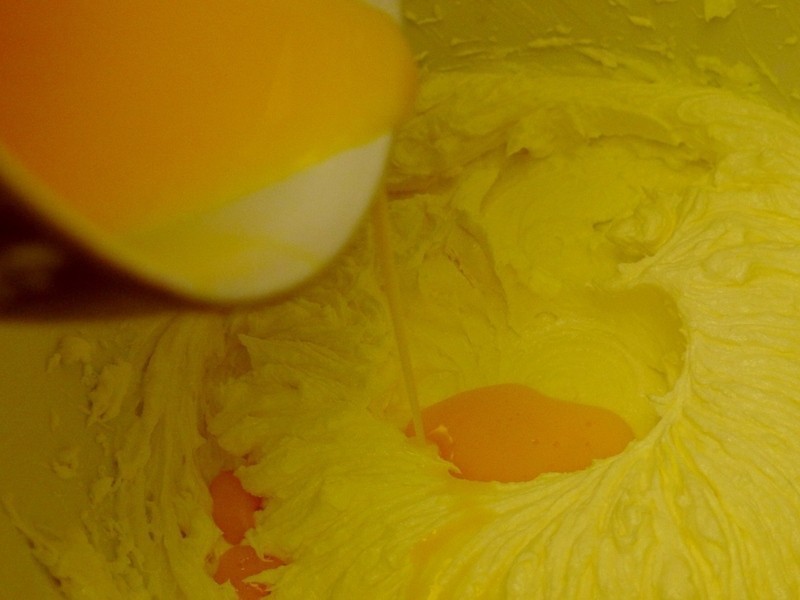
3倒入蛋黄及鲜奶以电动搅拌机搅拌均匀
 4
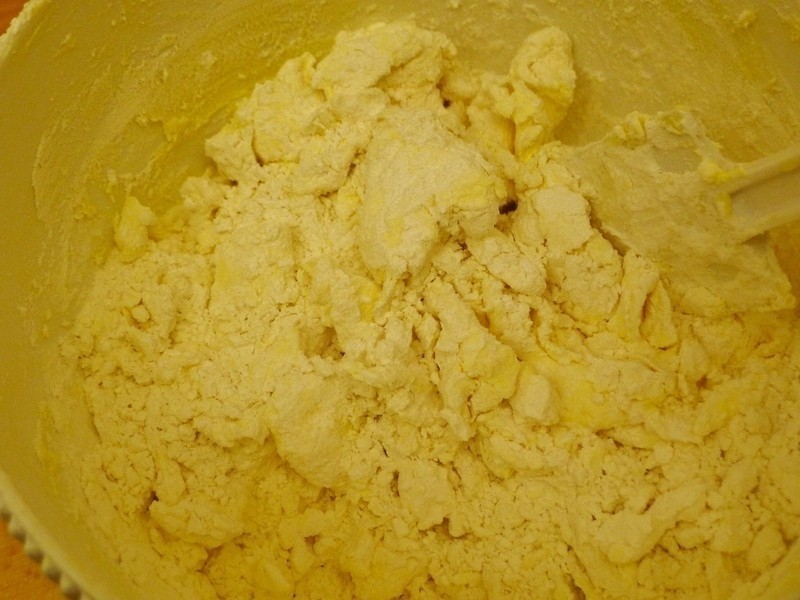
4在步骤3中筛入低筋面粉,用橡皮刮刀由上往下搅拌至松散状后再用手压拌均匀
 5
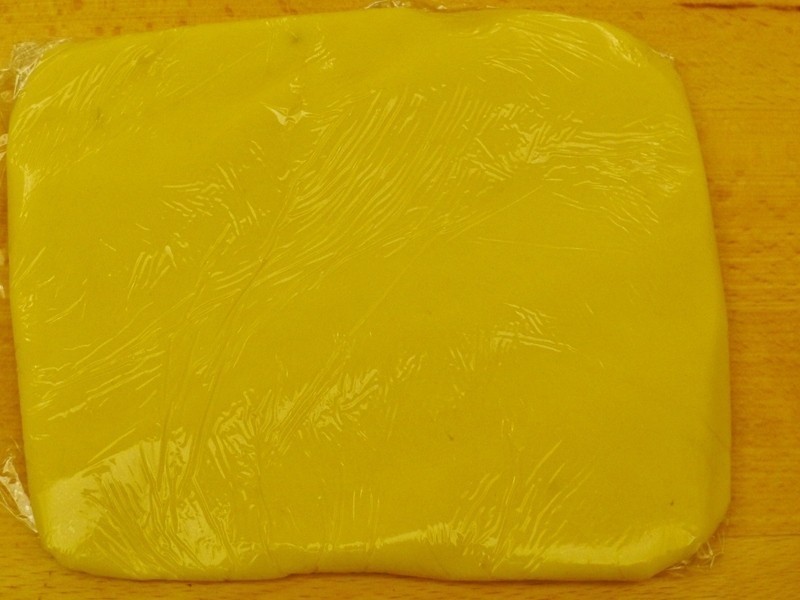
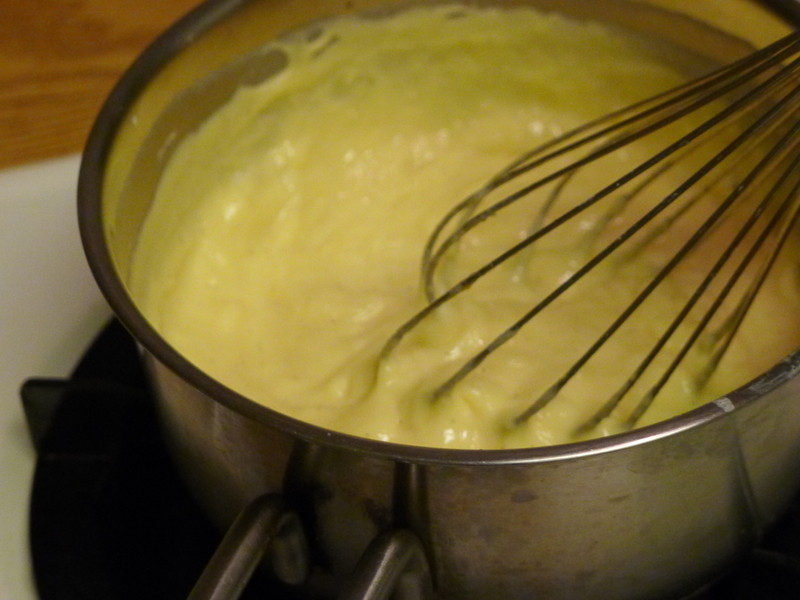
5将面团杆平以保鲜膜包好放入冰箱冷藏约30分钟
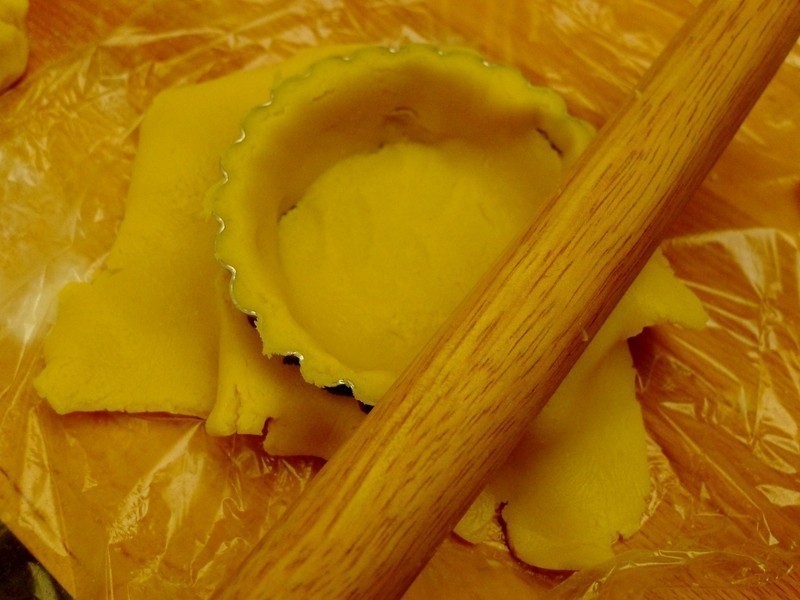 6
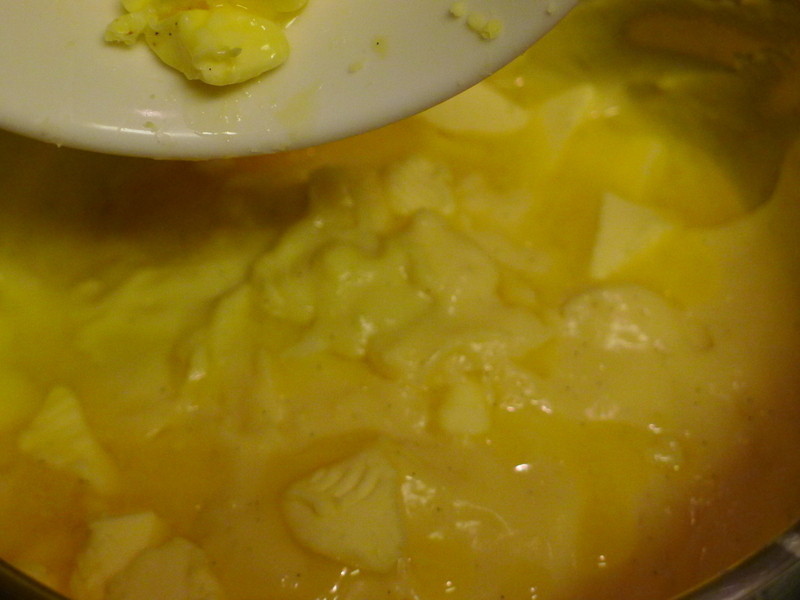
6将塔皮杆制成比塔模大一圈厚度约3mm塔皮,将塔皮沿着烤模边缘铺上,再将多余的塔皮以擀面棍切除
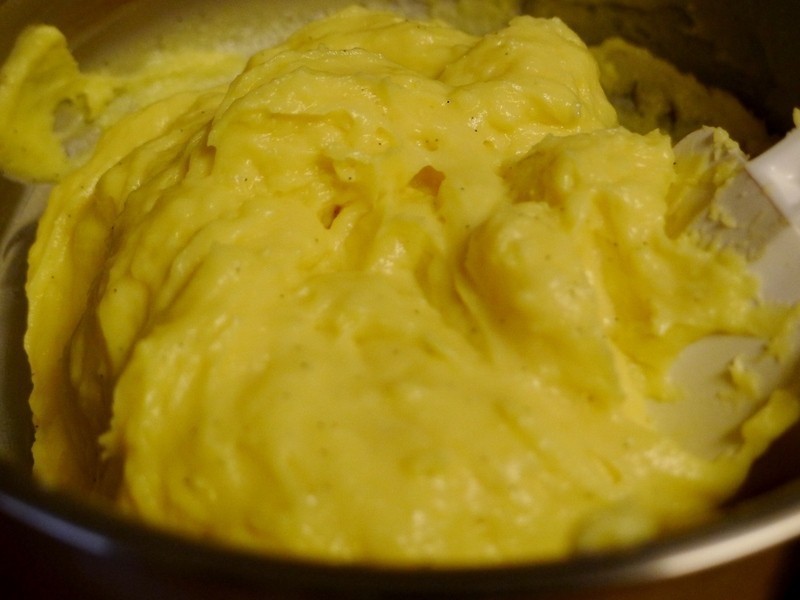
 7
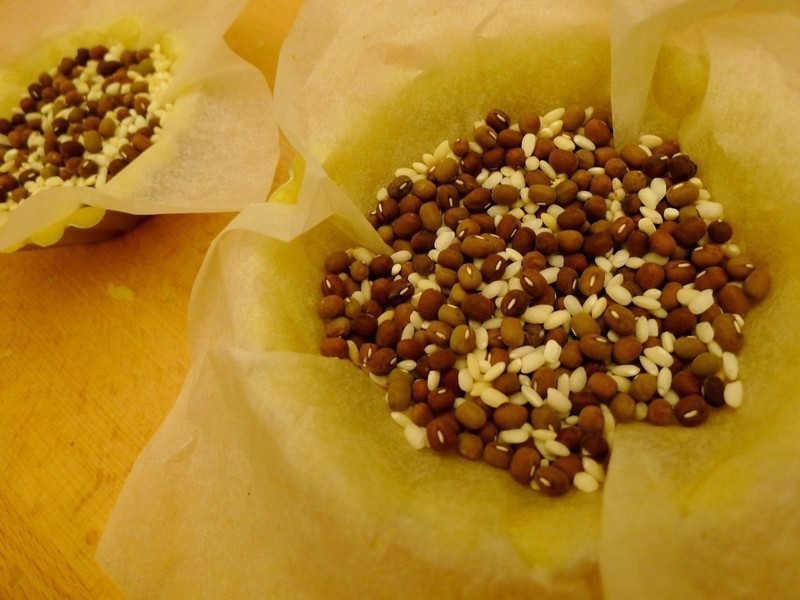
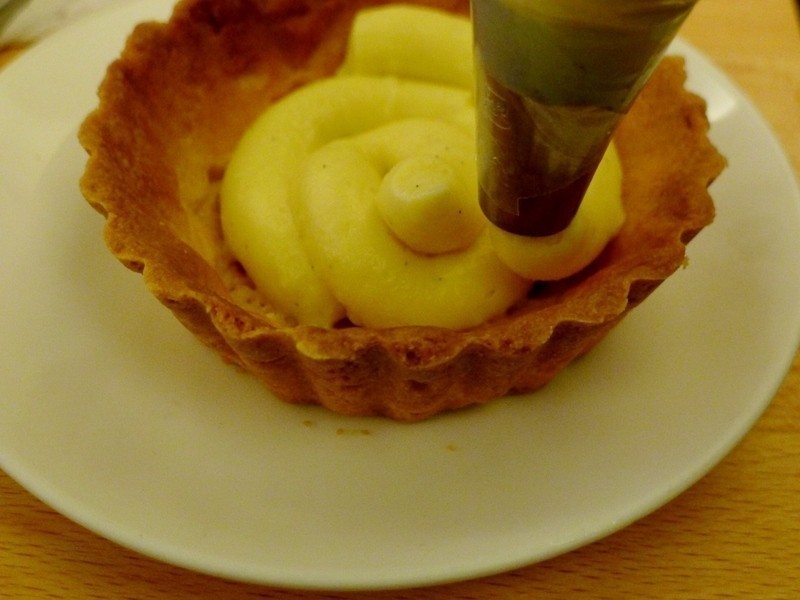
7在塔皮上以叉子戳出数个透气孔,铺上烘培纸于塔皮上,再以烘培石或米、豆类压住,放到预热过的烤箱以180度C烤约20分钟
 8
8烤至边缘上色后,取出塔皮刷上蛋液,再放进烤箱烤约2-3分钟使表面干燥
 9
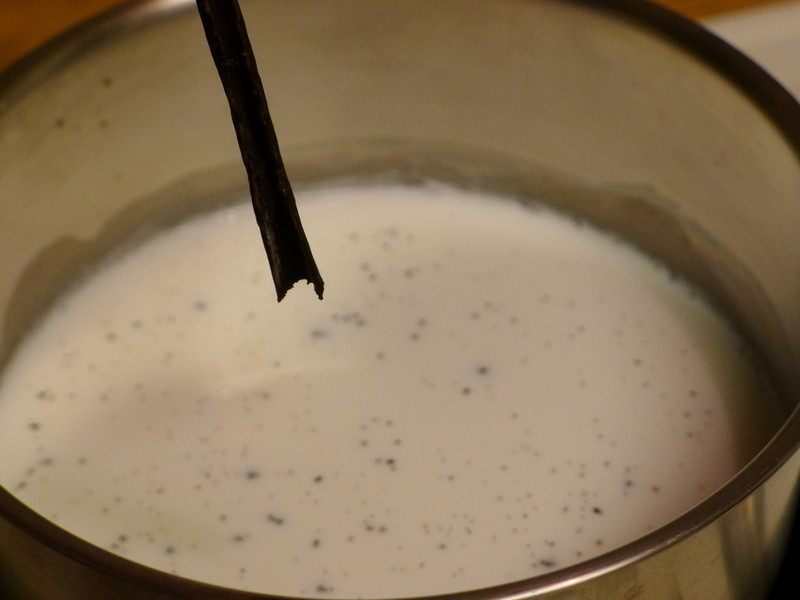
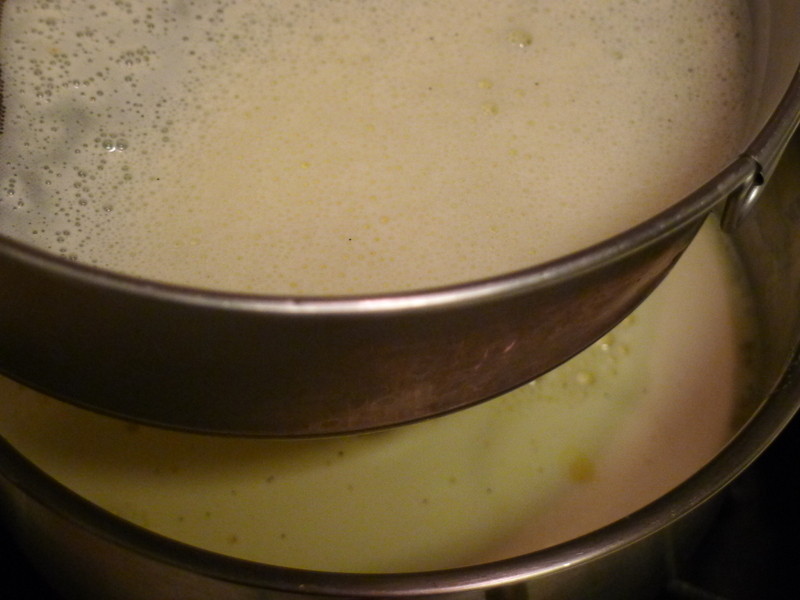
9制作卡士达奶油酱,香草荚剖开后将香草籽与鲜奶倒入锅中以中小火煮至沸腾
 10
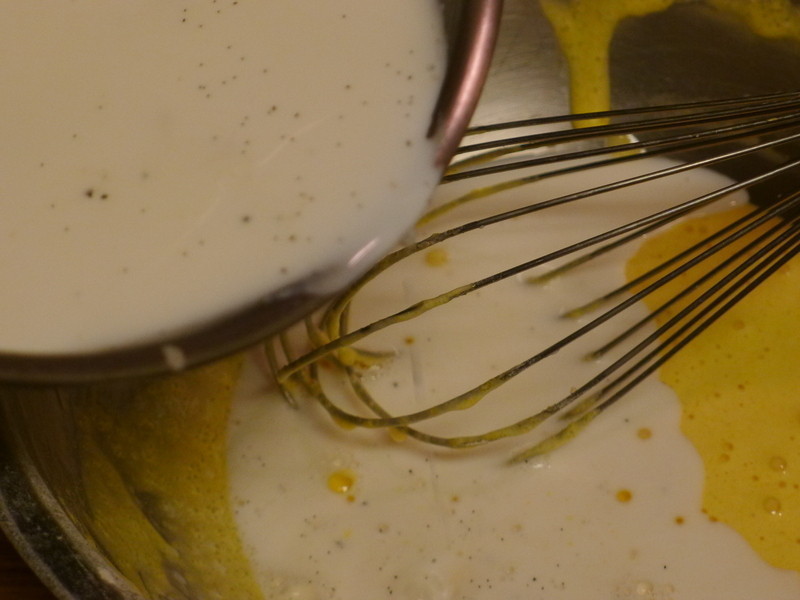
10取一搅拌盆,将蛋黄与细砂糖以打蛋器搅拌至颜色变白,再加入低筋面粉搅拌均匀,将步骤9分2-3次倒入以打蛋器搅拌均匀
 11
11以筛网将步骤10过筛倒回锅中让奶油更加柔顺
 12
12以中火持续搅拌卡士达奶油至呈现光泽为止关火
 13
13将无盐奶油倒入以关火后的余温使其融化并搅拌均匀,放凉后(或以冰水隔水降温)放置冰箱冷藏
 14
14从冰箱取出使用前再搅拌让奶油更有光泽与风味
 15
15卡士达奶油酱放进圆形挤花嘴(口径约7-8mm)的挤花袋,以螺旋状挤满已放凉的塔皮上
 16
16将雪球饼干由底层慢慢堆叠,层与层中间填充卡士达奶油酱使雪球饼干固定不滑落,加上小小香草(我用的是柠檬百里香)点缀其间,最后洒上糖粉就完成啦^^