
手作酥皮卡士达草莓派的做法
发布时间:2019-03-10 19:58:07

 1
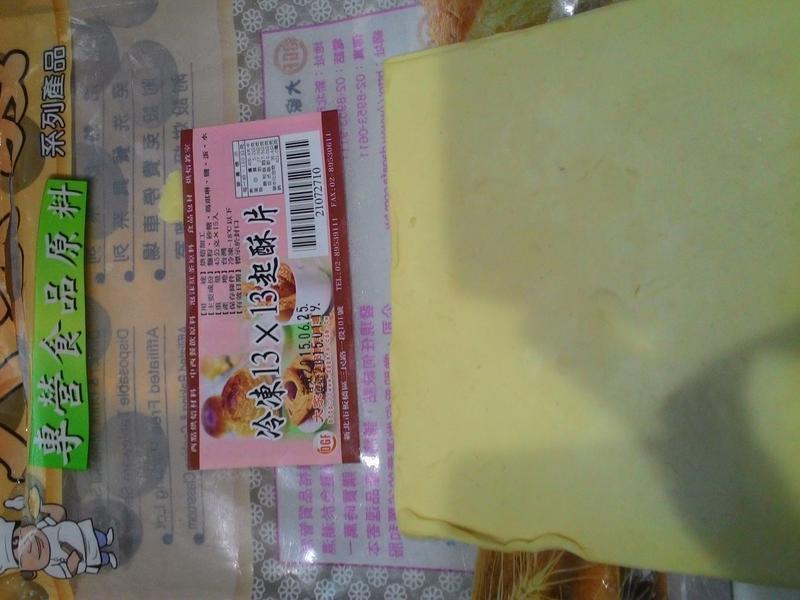
1去卖场买一般酥皮浓汤弄得酥皮回家。
 2
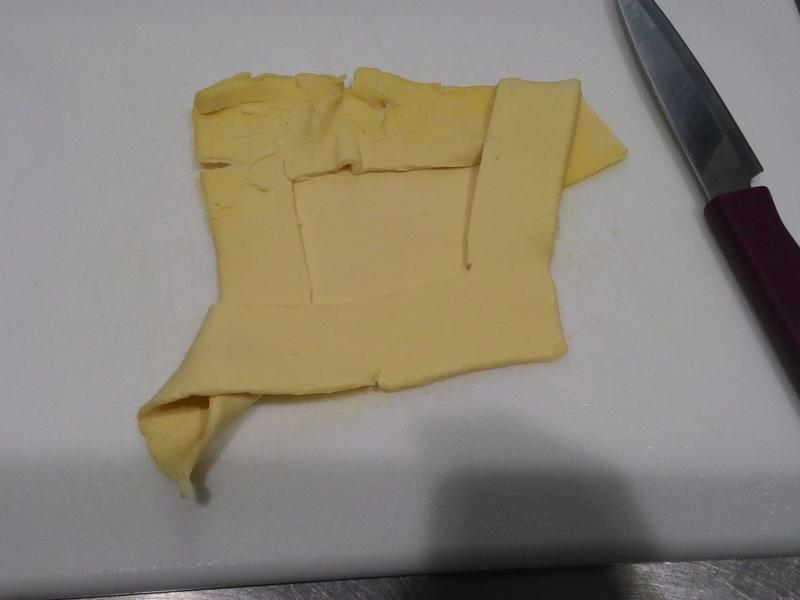
2准备一把刀跟砧板,酥皮四周围预留约2cm的空间,将两对角各切L型的切痕,但不可以切断。
 3
3两边提起后,上下交叉穿越至另外一个对角,变成类似菱形的形状,中间有一个凹槽。
 4
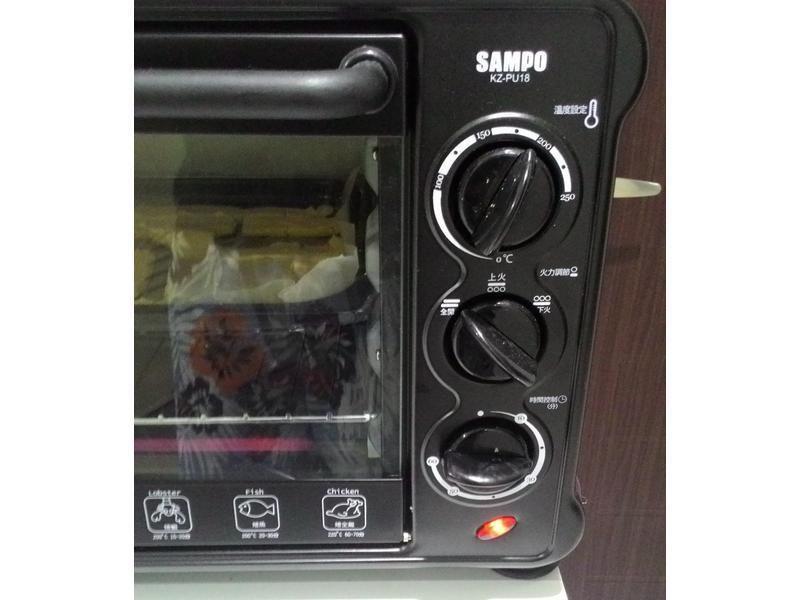
4烤箱预热180~200度C之间,烤约15分钟。
 5
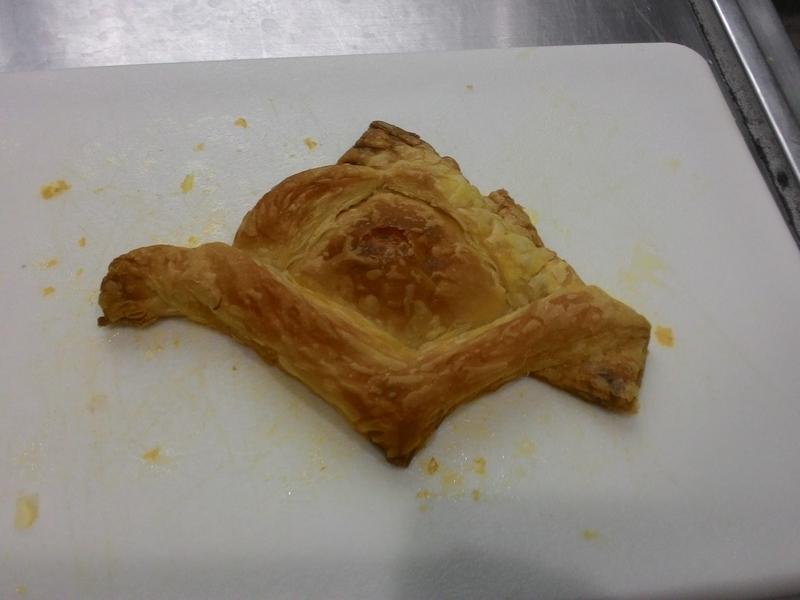
5烤完就是香喷喷的草莓派【酥皮底】好囉。
 6
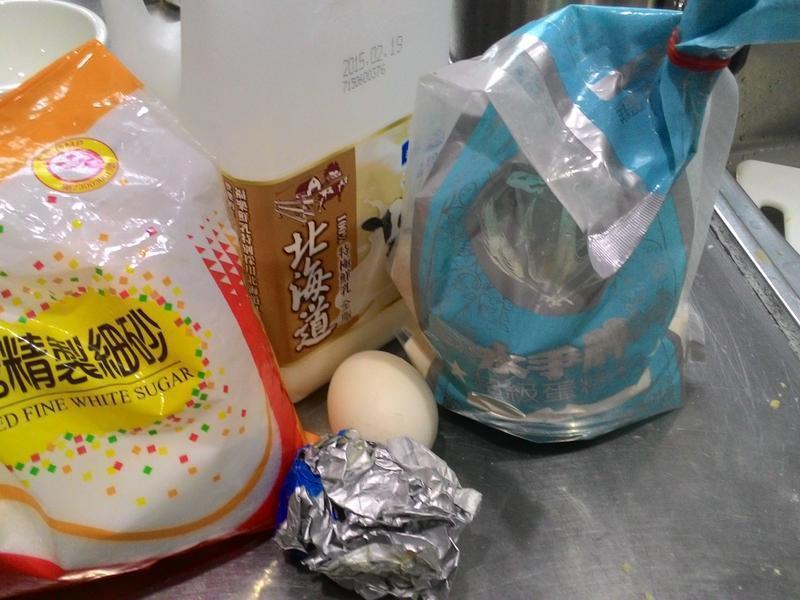
6制作【卡士达】酱,准备好材料
 7
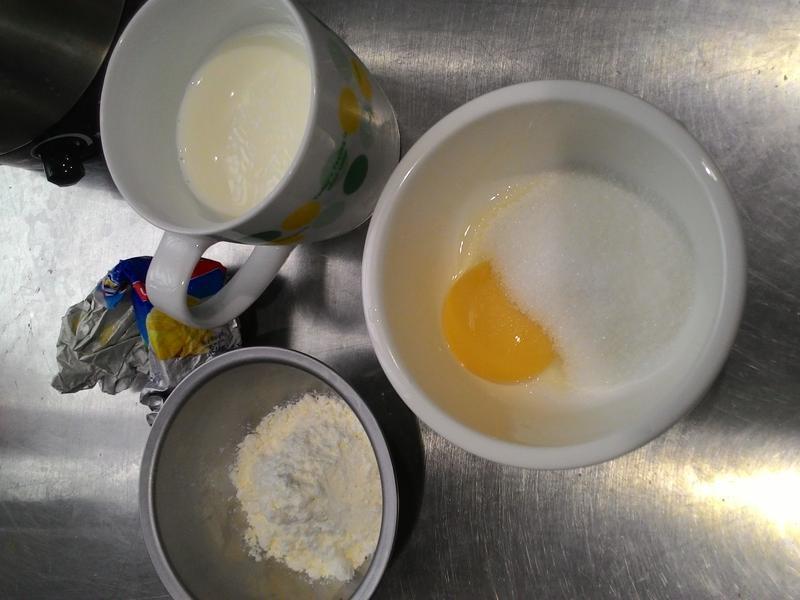
7量好重量,取出蛋黄
 8
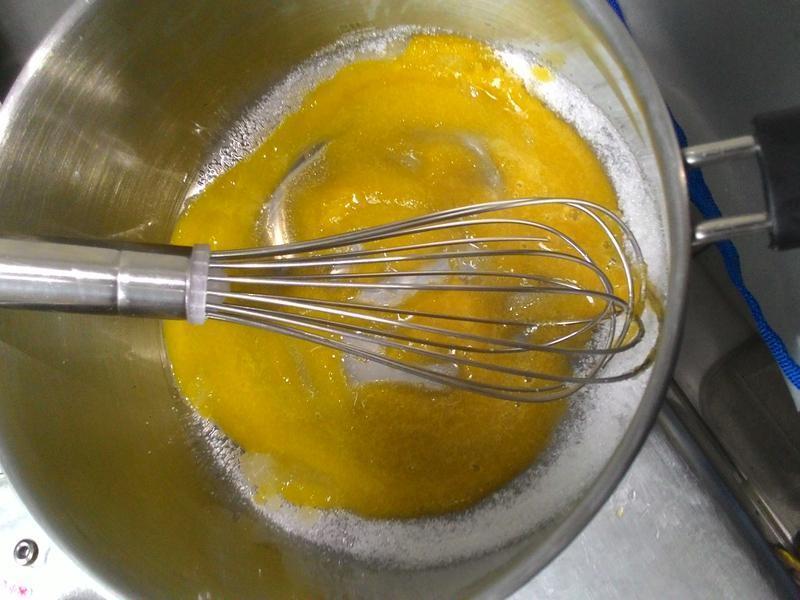
8先将蛋黄跟砂糖搅拌
 9
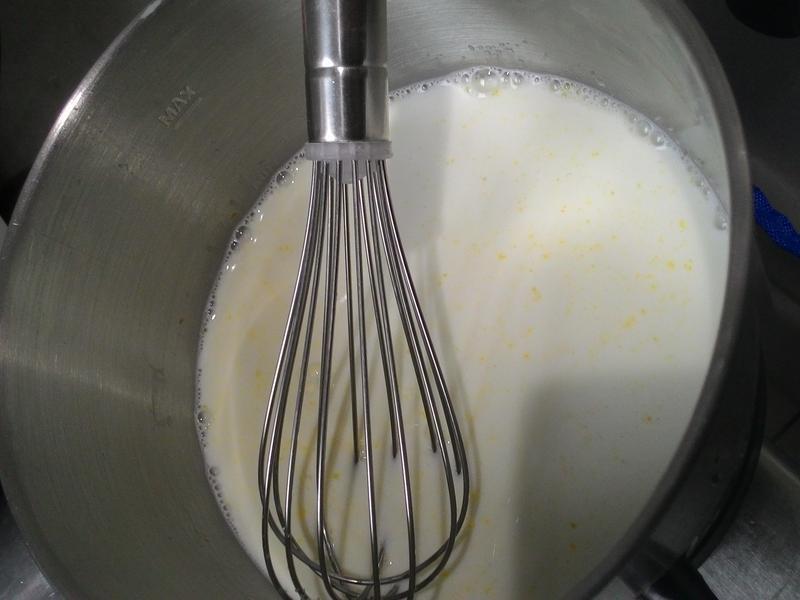
9加入牛奶以温火加热
 10
10将糖煮到融化到奶中,过程中都要搅拌。
 11
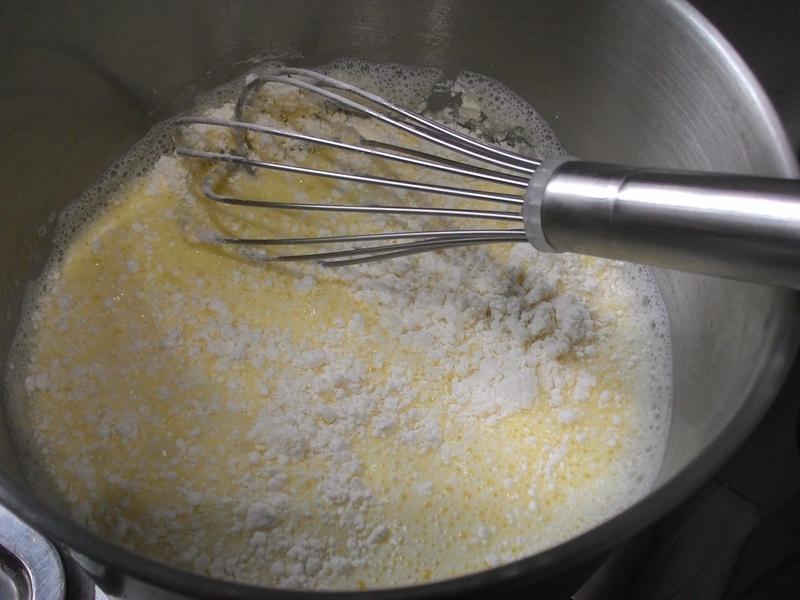
11加入低筋面粉继续搅拌,他会逐渐变稠,记得要一直搅拌喔,不然会焦掉。
 12
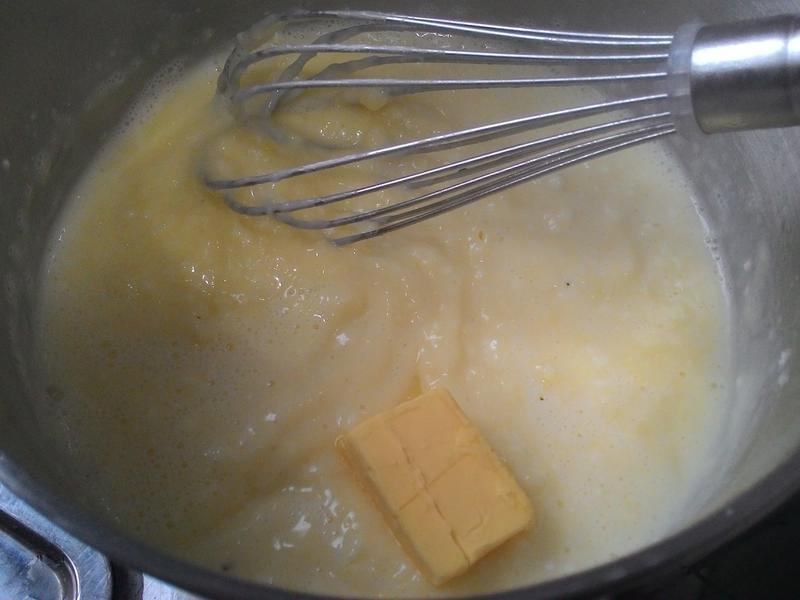
12加奶油下去边煮边搅拌直到奶油融化
 13
13这时候的稠度香度都差不多了,可以自己试一下味道。
 14
14【酥皮卡士达草莓派】制作接着将卡士达酱挤在酥皮派中间。
 15
15取出草莓洗干净后切片,摆放上去,能摆几颗就摆几颗,洒上一点糖粉或是炼奶、蜂蜜,看个人口味,这样就完成了酥皮卡士达草莓派囉~