
抹茶菠萝的做法
发布时间:2019-03-10 18:47:17

 1
1酵母先溶于鲜奶中,再加入其他液态材料稍拌匀,除奶油外其他材料加入并揉至面团稍光滑。再加入室温软化的奶油,面团搅拌揉均匀至拉开会产生薄膜状。
2基本发酵 28℃50分钟 (盖湿布或是保鲜膜防止表面干皮)。
3分割、滚圆,将面团分别滚成每一个35g。
4中间发酵(松弛作用) 10~15 分 (将面团盖上保鲜膜或是塑胶袋,避免面团干皮;也可移至冷藏冰箱松弛,方便整形操作)。
5面团稍压平包入奶酥馅20g(奶酥馅可以先秤好重量,搓成圆球形,比较好包),面团收口确实捏紧,避免烤焙后露馅。
 6
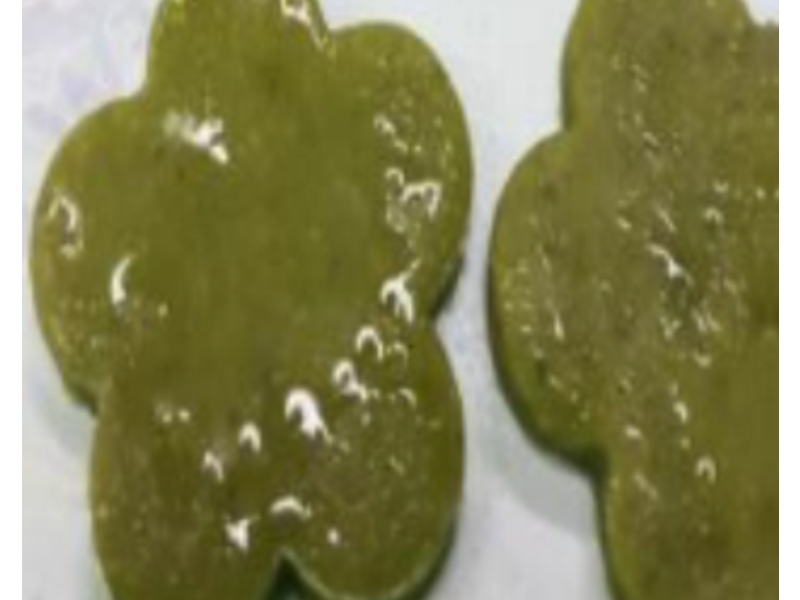
6入炉烤焙前,将事先揉合完成的抹茶菠萝皮面团,放在裁开的塑胶袋中擀平至约0.3cm厚度,
 7
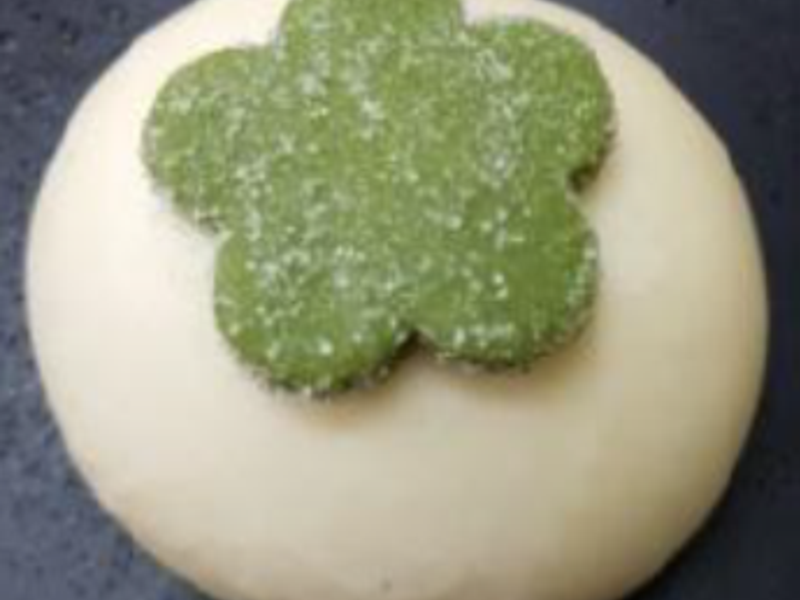
7用喜欢的造型压模在擀平的饼干面团上压出造型,将压好的饼干面团块取起,表面喷水后再沾上砂糖,此面朝上,将其放在表面已刷上蛋液的面团中央表面。
8入炉烤焙:上下火200/180℃烤8-10分。