花式馒头的做法
发布时间:2019-03-10 09:54:02
 1
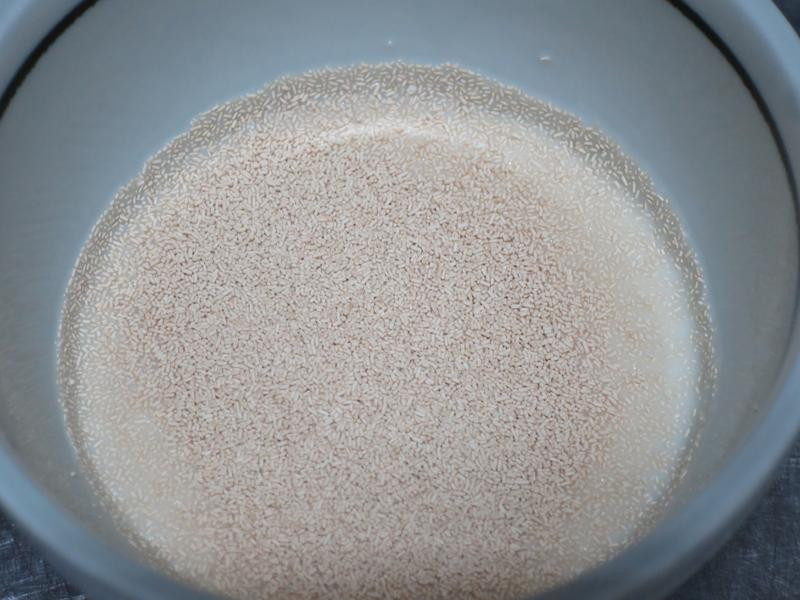
1紫色地瓜蒸熟,压成泥状。备用。酵母粉加5-10克温水泡5分钟(无须搅拌)。
 2
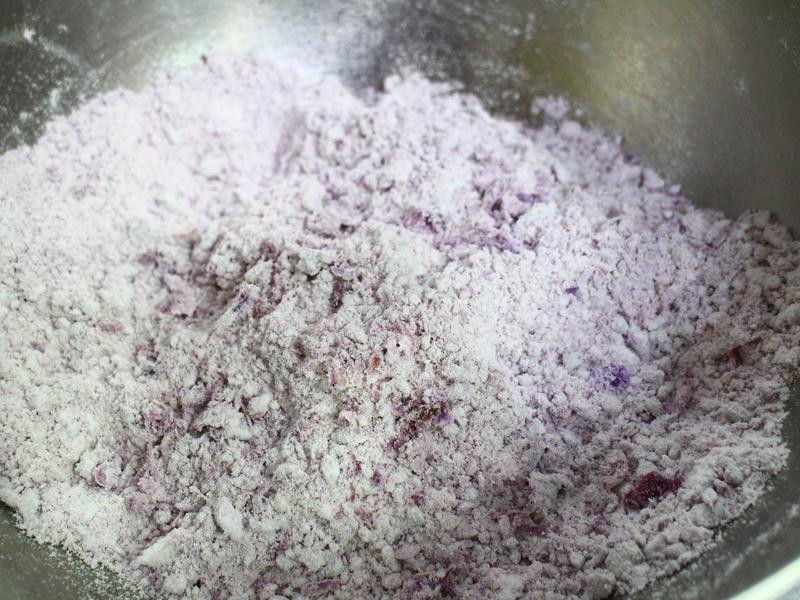
2面团的材料加在一起,搓揉成3光面团。注意:因为每种食材的泥状程度不尽相同;地瓜泥加入中筋面粉后,先混合搓成粉状,再慢慢加少量水,搓成与原色面团的湿度一样即可。彩色粉状食材取代扣除中筋面粉的量。
 3
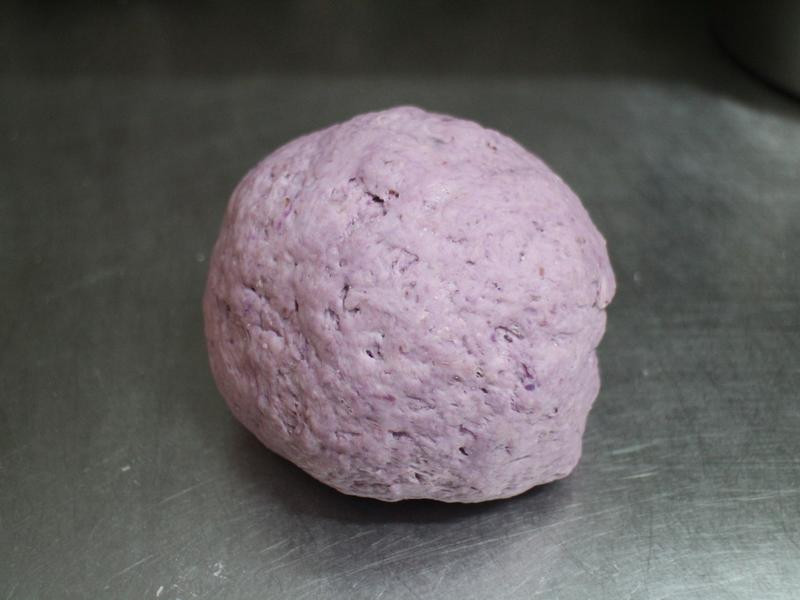
3有原色、紫色面团。第一次发酵15分钟。
 4
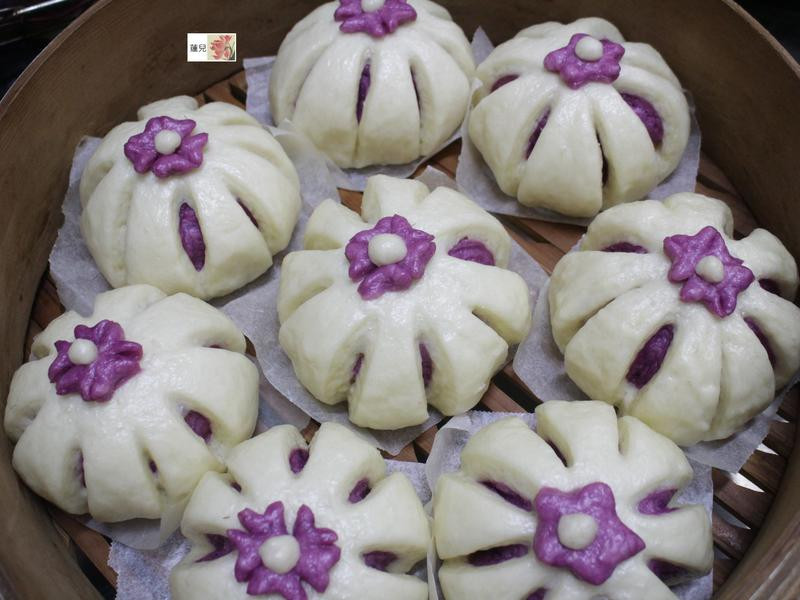
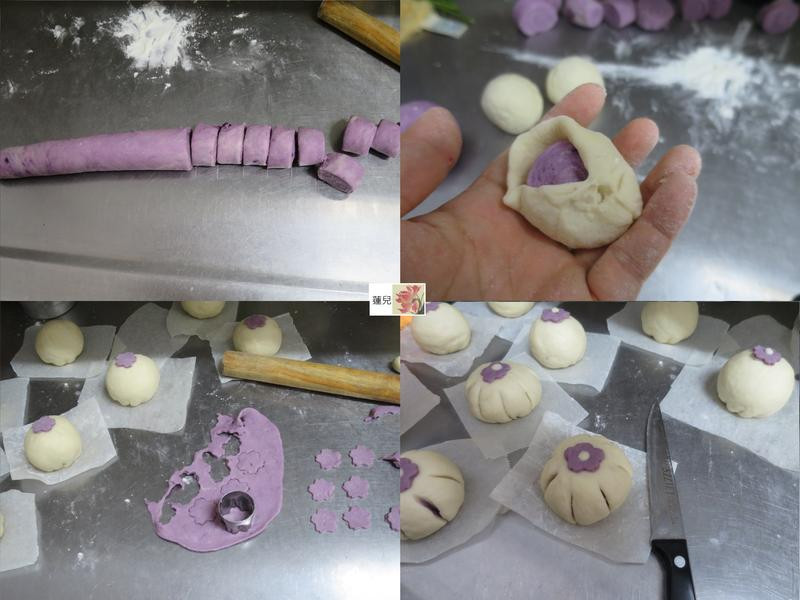
4将发好的面团分别杆平,卷成圆柱,切数个大小一样的小段。原色包紫色造型。压模小花,小白点贴上,利刀切7刀,深度以看到紫色即可,不切断分成8等份。
 5
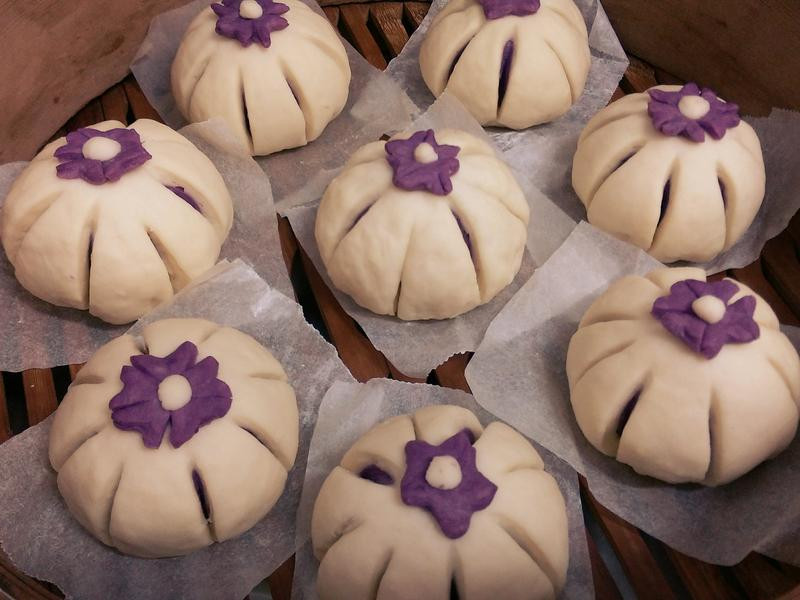
5蒸笼的水先煮水温不烫手备用。馒头放入蒸竉里排好,不要太靠近,要有膨胀的空间。放上锅,上盖再发酵20-30分钟左右(以馒头发酵情形为表面有澎胀、变轻、漂亮的样子为主)。做造型的时间越久,后发时间就要缩短。
 6
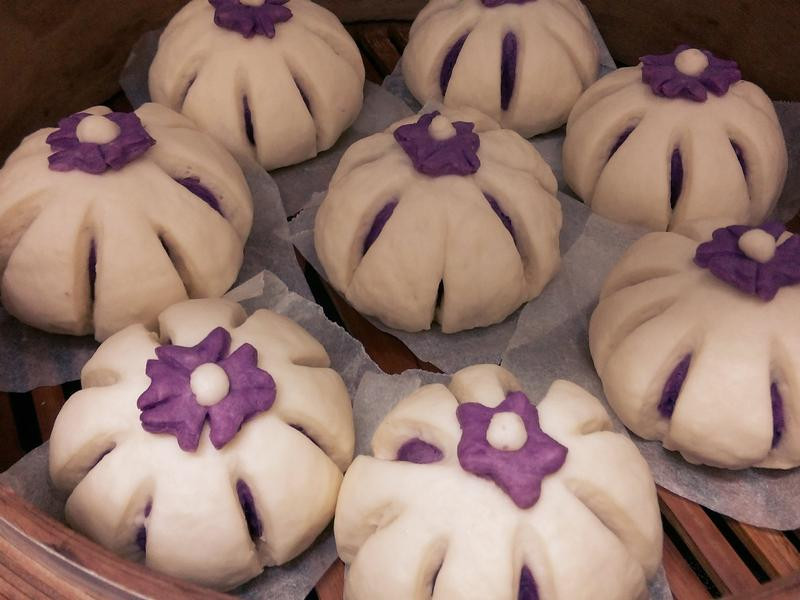
6这是后发的状况;今天的天气比较冷,造型我花了15分钟在制作,所以后发为25分钟左右。
 7
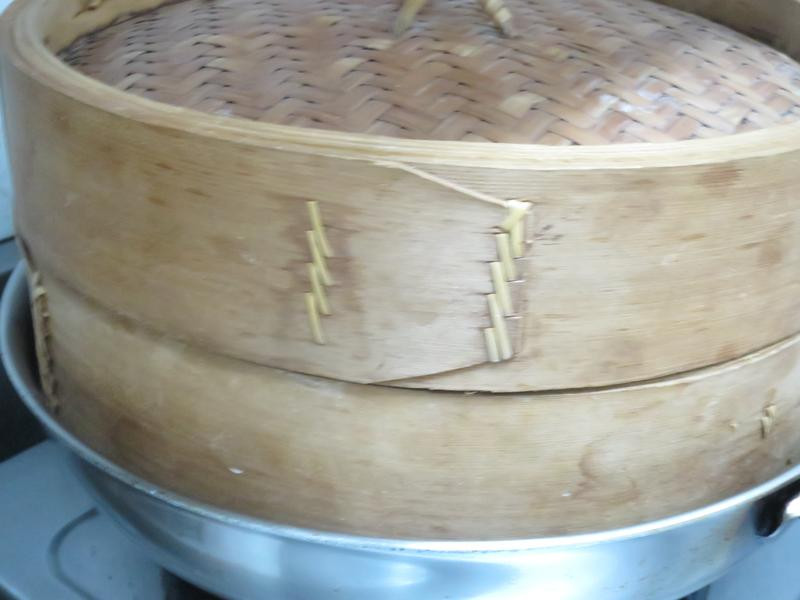
7开中小火,蒸15分(看包子大小决定时间)。时间到熄火,2分后再慢慢打开盖子,让内锅温度与外面温度不要一下子差太多。取出馒头要用干的布盖著保温和保湿一下,馒头才不会变干。有时候我会用厨纸巾盖上。
 8
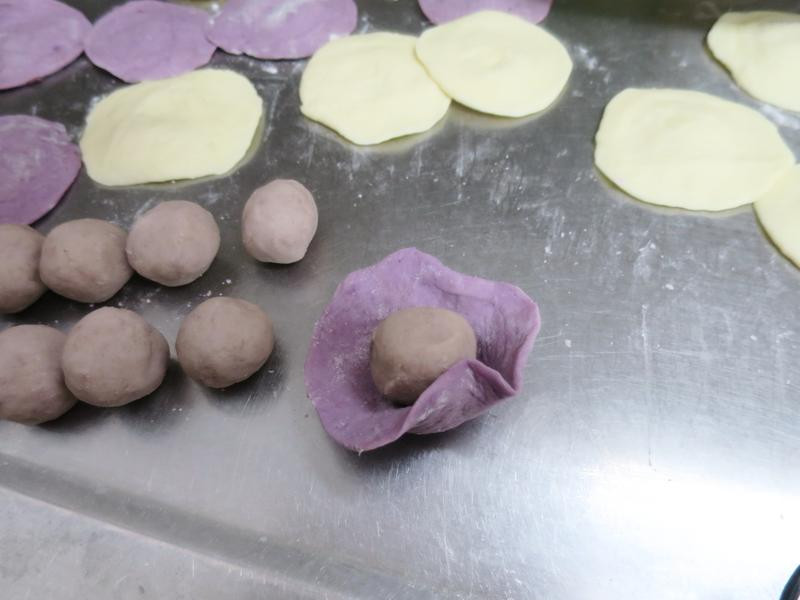
8另外又做了芋头馅(芋头蒸熟趁热压泥,趁热加上细白砂糖和奶油)的包子。紫面团包馅料。
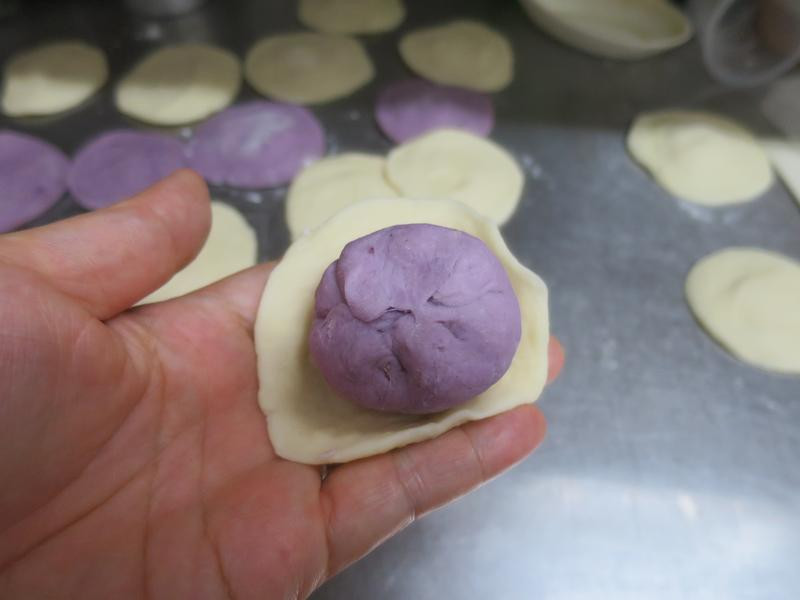 9
9外围再一层原色面团。
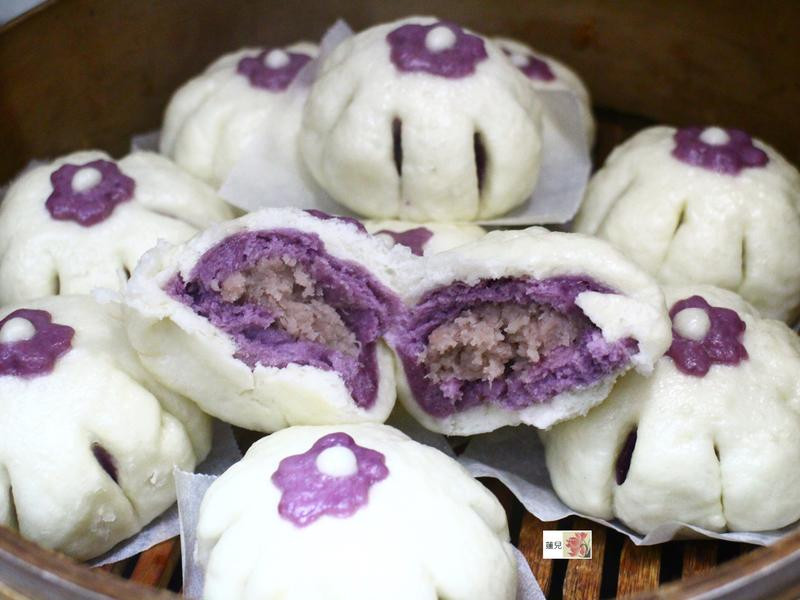 10
10层层不同色泽及口味,吃得到食物的原味,太幸福啦!
11芋头馅:芋头蒸熟趁热压泥,趁热加上细白砂糖和奶油